







external hard drive not showing up in Windows: Before changing the disk, determine whether it contains irreplaceable files, whether the hardware is stable, and which devices must read it. Formatting is the final configuration step, not the first response to an error.
Quick Answer
Try a second cable, port, and computer; check Disk Management for the physical model and capacity. Do not initialize or format a previously used drive. If it appears stable, copy or recover files to another disk before repairs. Microsoftʼs Disk Management guidance explains how Windows identifies disks and volumes.
Why Formatting Is Not the First Fix
A format prepares a volume for a chosen file system. Quick format mainly replaces metadata, while a full format can write across more of the volume and may eliminate additional recovery opportunities. Neither repairs mechanical damage.
Protect the Source Before Repair
Stop downloads, synchronization, repairs, initialization, and unnecessary writes to the source. Record its model, capacity, partitions, encryption state, and exact error. Use another healthy physical disk for backup and recovery output. The same read-only checks matter for an external drive that may need repair; complete them before changing the source.
Free System Recovery Options to Try First
Method 1: File History or Previous Versions
File History and Previous Versions are free Windows features. They help only if a backup or usable shadow copy existed before the loss.
- Stop using the affected drive and connect a different healthy destination disk.
- Open Control Panel > System and Security > File History > Restore personal files; alternatively inspect the original folder’s Properties > Previous Versions.
- Choose a version dated before the loss or format attempt.
- Preview a representative file when possible.
- Restore to another folder or physical disk instead of overwriting the source.
- Open several restored files and make a second backup.
Method 2: Windows Backup or Time Machine
A Windows Backup or macOS Time Machine set may contain the needed files. Restore selected files elsewhere before changing the affected source.
- Connect the known backup drive without formatting or repairing the affected source.
- Open Backup and Restore in Windows, or enter Time Machine on macOS.
- Select a backup date from before the files disappeared.
- Browse to the exact folders and select critical files first.
- Restore to a separate healthy location.
- Verify dates, sizes, and contents before any format operation.
Safe Diagnostic and Recovery Steps
- Identify the physical device by model and capacity; do not rely on its drive letter alone.
- Try a known-good cable, direct port, card reader, or original computer without writing to the source.
- If the device clicks, disconnects, or reports the wrong capacity, stop repeated scans and seek hardware-aware help.
- Check existing cloud, File History, Previous Versions, or other backups before making changes.
- If the device is stable and files remain missing, scan it read-only and save recovered files to a different physical disk.
- Open a sample of recovered files, make a second backup, and only then consider a repair or format.
Use these observations to decide whether the device can be examined without writing to it. If the next step involves diagnostic or recovery software, keep the source unchanged until a separate copy has been verified.
Recover Missing Files Before Formatting
If files are missing, recover them before formatting. Install the recovery program on a healthy volume and never save restored data back to the source. PandaOffice Drecov.
Recover Files with Drecov
Step 1: Select the source
Open Drecov from a healthy Windows drive. Select the affected disk only after confirming its model and capacity.
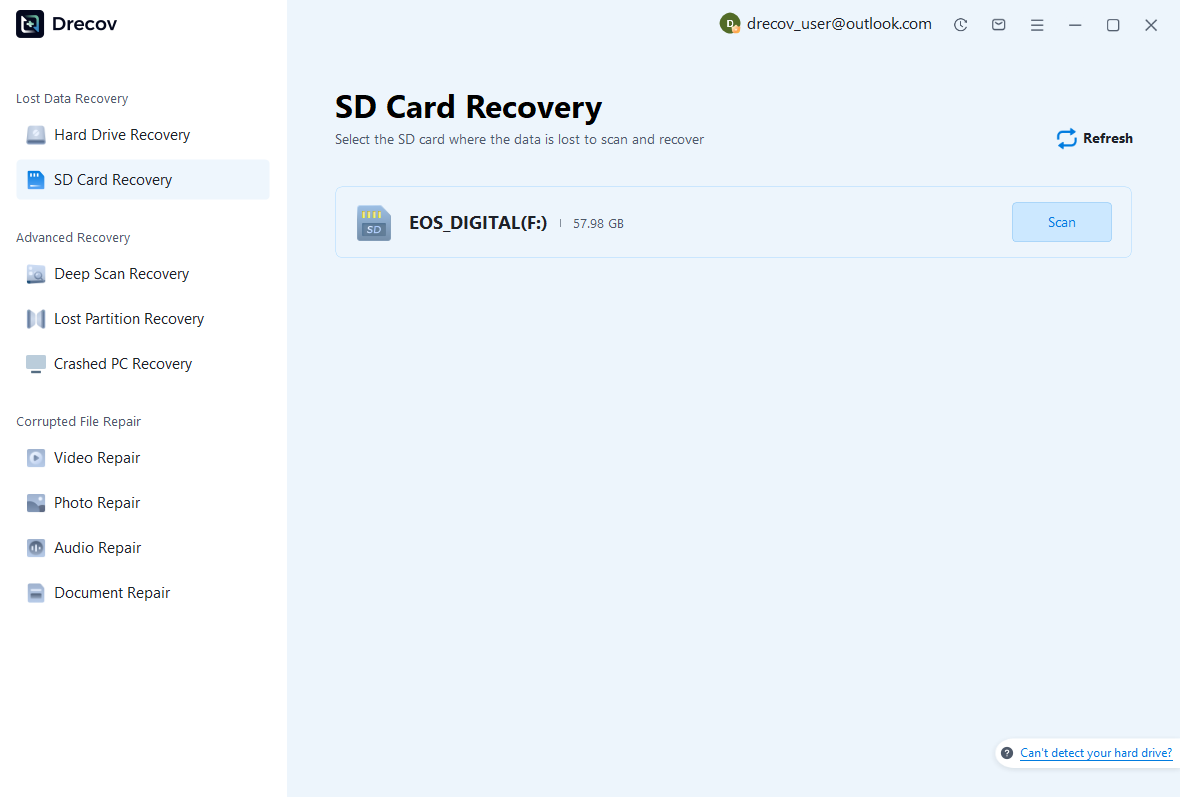
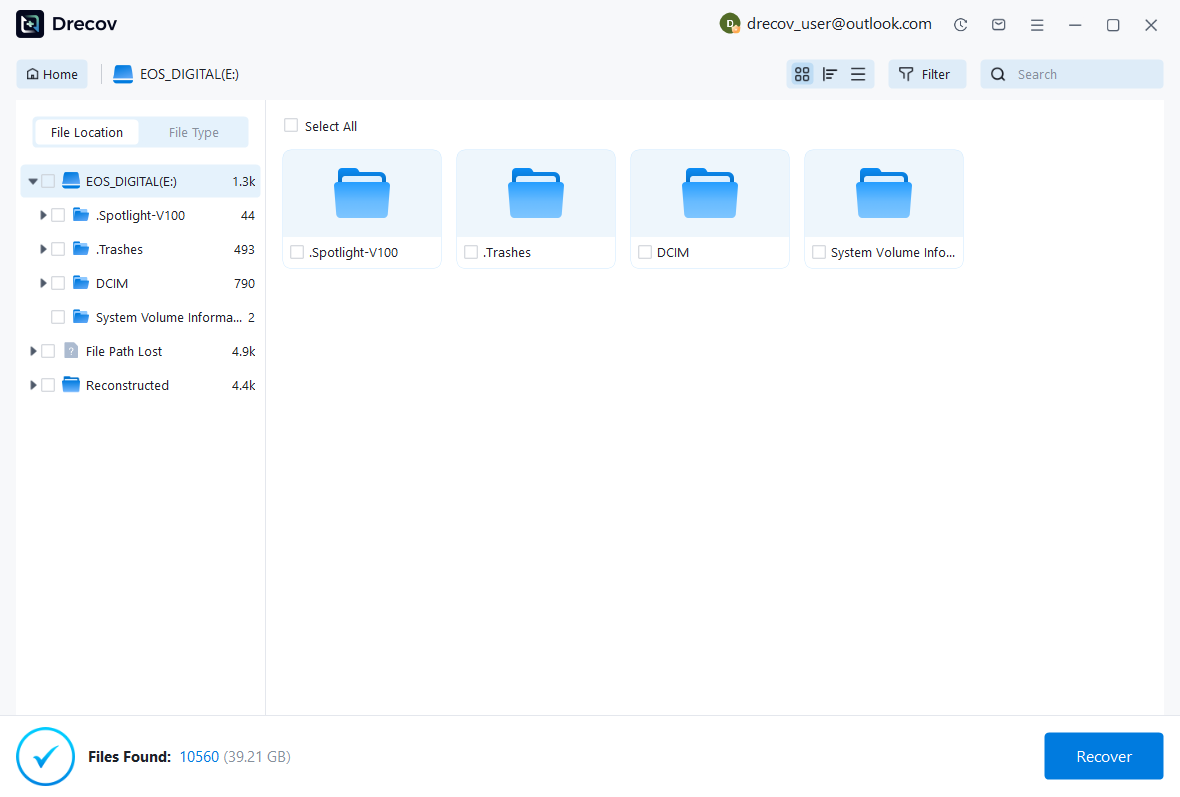
Step 2: Scan and filter
Run the initial scan, continue with Deep Scan when necessary and stable, then filter by path, type, name, size, or date.
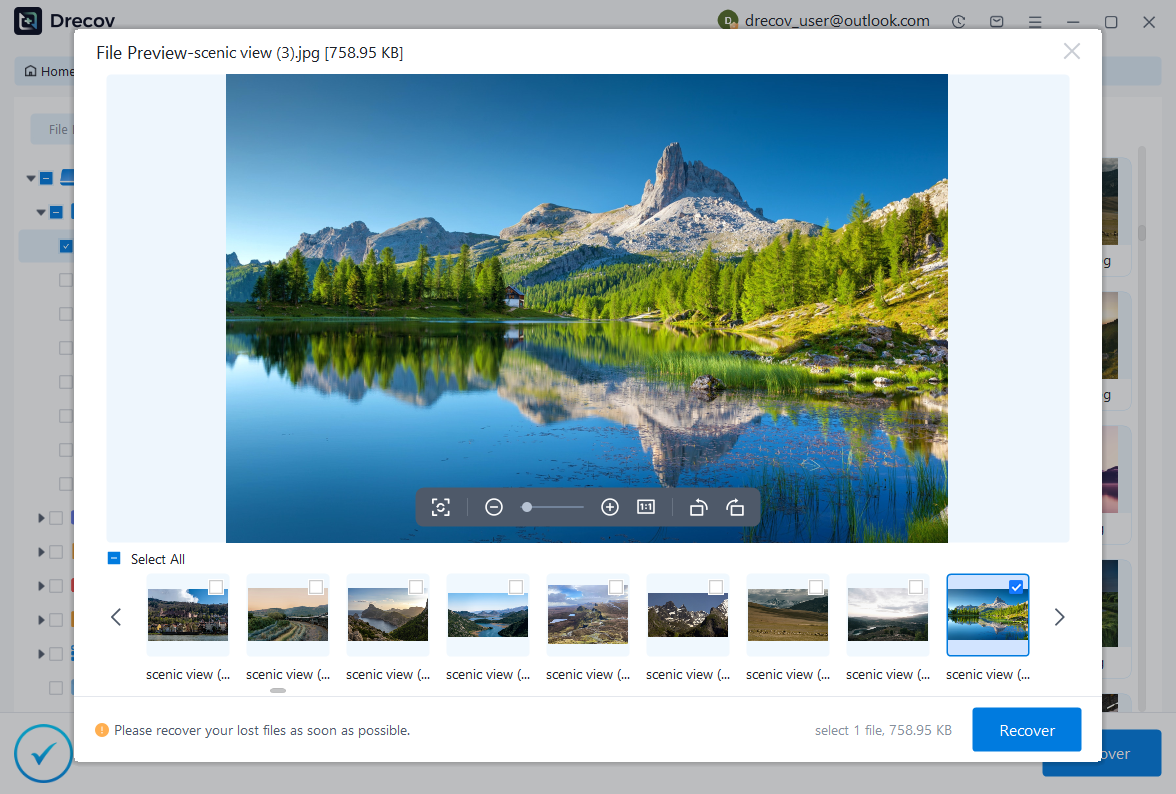
Step 3: Preview and save elsewhere
Preview supported files, choose what you need, and recover to a different physical disk. Verify several files before formatting.
Mistakes to Avoid
- Formatting when the operating system merely asks for it
- Selecting a disk by letter alone without checking capacity
- Running repair commands before copying or recovering files
- Saving recovered files to the original source
- Using full format when quick format meets a verified need
- Continuing software scans on a clicking or disconnecting drive
Frequently Asked Questions
Does formatting permanently erase every file?
It replaces file-system information and may overwrite data. Recovery can sometimes work after a quick format, but there is no guarantee and continued writing reduces the chance.
Can formatting repair physical damage?
No. Clicking, instability, wrong capacity, or overheating requires hardware-aware diagnosis.
Where should recovered files be saved?
To a different healthy physical disk with enough free space.
Final Verdict
External Hard Drive Not Showing Up: Safe Checks and Recovery. The safe order is identify, back up, recover, verify, and only then format. Choose a file system for the devices and file sizes you actually use, not because a dialog suggests a default. If files are missing, recover them before formatting. Install the recovery program on a healthy volume and never save restored data back to the source.





