


External drives like Lacie hard drive are widely used for backups, media storage, and large file transfers. Yet, Mac users often face the issue where the lacie hard drive not showing up on mac, leaving data inaccessible. This problem may appear in Finder or Disk Utility due to hardware, software, or file system conflicts.
With systematic troubleshooting, most detection issues can be fixed. For critical data, professional recovery software like Pandaoffice Drecov ensures files remain safe during repairs with deep scanning and restoration.
Lacie purring along but not showing up in finder. Comp not recognizing. Suddenly appeared and vanished the next day? Help!—from Apple Store
Common Causes for Lacie Hard Drive Not Showing Up
Understanding why the lacie hard drive not showing up helps apply the correct solution. Common reasons include:
- Loose or faulty USB/Thunderbolt connections
- Drive formatting incompatible with macOS
- Partition corruption or file system errors
- Outdated macOS or missing drivers
- USB port conflicts or defective cables
- Insufficient power for drives requiring external adapters
⚠️Warning: Repeatedly plugging or unplugging the drive while powered on may worsen hardware or file system damage.
Fix 1: Check Physical Connections and Ports
Hardware issues are often the simplest cause of a lacie hard drive not showing up on mac.
Steps:
- Confirm USB or Thunderbolt cable is fully connected.
- Try a different port on the Mac.
- Test the cable or drive on another device.
- Ensure external power (if required) is connected correctly.
Older Lacie drives may need adapters for modern Mac ports. Many detection issues are resolved at this stage without further troubleshooting.
Fix 2: Use Disk Utility to Detect the Drive
If Finder does not show the drive, macOS Disk Utility can often detect it.
Steps:
- Open Disk Utility (Applications → Utilities).
- Look for the Lacie drive in the sidebar.
- If greyed out, select the drive and click Mount.
- Use First Aid to repair minor file system errors.
⚠️Warning: Avoid formatting before recovery if important files exist. Use Pandaoffice Drecov to recover data safely first.
Fix 3: Restart macOS and Reconnect the Lacie Drive
Temporary macOS glitches may prevent detection.
Steps:
- Eject all external drives.
- Shut down the Mac.
- Disconnect the Lacie hard drive.
- Restart the Mac and reconnect the drive to another port if possible.
- Check Finder or Disk Utility for detection.
⚠️Warning: Avoid repeated plugging/unplugging while powered on to prevent damage.
Fix 4: Check Drive Format Compatibility
macOS supports APFS, HFS+, FAT32, and exFAT. NTFS drives may not appear natively.
Steps:
- Open Disk Utility and select the drive.
- Check the file system.
- If NTFS, use Pandaoffice Drecov for safe recovery before reformatting.
Reformatting should only be done after recovery to prevent data loss and fix lacie hard drive not showing up on mac issues.
Fix 5: Use Terminal to Detect the Drive
Sometimes the system recognizes the drive but Finder does not.
Steps:
- Open Terminal (Applications → Utilities).
- Type
diskutil listand press Enter. - Look for the Lacie drive in the output.
⚠️Warning: Be careful with Terminal commands to avoid accidental deletion.
Fix 6: Reset NVRAM/PRAM on Mac
Sometimes the Mac’s NVRAM/PRAM settings may cause hardware detection issues, leading to the lacie hard drive not showing up on mac. NVRAM stores configuration like volume, display, and peripheral settings, which can interfere with external drive recognition if corrupted.
Steps to reset NVRAM/PRAM:
- Shut down the Mac completely.
- Turn it on and immediately press and hold Option + Command + P + R.
- Hold the keys for about 20 seconds, during which the Mac may restart.
- Release the keys and allow macOS to boot normally.
After reset, reconnect the Lacie hard drive and check if Finder or Disk Utility detects it. This method resolves detection problems caused by misconfigured hardware settings or temporary conflicts.
⚠️Warning: Resetting NVRAM will not delete your files, but may reset certain preferences like startup disk selection and display resolution.
Fix 7: Reset SMC (System Management Controller)
The SMC manages hardware-level functions, including USB and Thunderbolt ports. Faulty SMC settings can result in the lacie hard drive not showing up problem, especially for drives requiring external power or high-speed connections.
Steps for resetting SMC on Intel-based Macs:
- Shut down the Mac.
- Press Shift + Control + Option on the left side and the power button simultaneously for 10 seconds.
- Release all keys and power on the Mac.
For M1 Macs, simply restarting the system resets SMC automatically. Once reset, reconnect the Lacie drive and check detection in Finder and Disk Utility.
Fix 8: Update macOS and Storage Drivers
Outdated macOS versions or missing system drivers may prevent detection of external drives, causing lacie hard drive not showing up on mac. Keeping the system up-to-date ensures compatibility with the latest hardware.
Steps:
- Open System Settings → Software Update.
- Install all available updates, including minor security patches.
- Restart the Mac after updating.
After updates, reconnect the Lacie drive. Many users find that macOS updates resolve recognition issues without further troubleshooting. Regular system maintenance also prevents future detection problems.
⚠️Warning: Backup critical files before major OS updates, as system upgrades may occasionally affect drive accessibility.
Fix 9: Recover Data Using a Compatible System
If the lacie hard drive not showing up on mac persists and files are inaccessible, you can still recover data by connecting the drive to a Windows PC or another compatible system. While Pandaoffice Drecov does not run on macOS, it is fully capable of recovering files from Lacie drives connected to Windows.
Steps to recover data safely:
- Connect the Lacie hard drive to a Windows PC using a USB or Thunderbolt adapter.
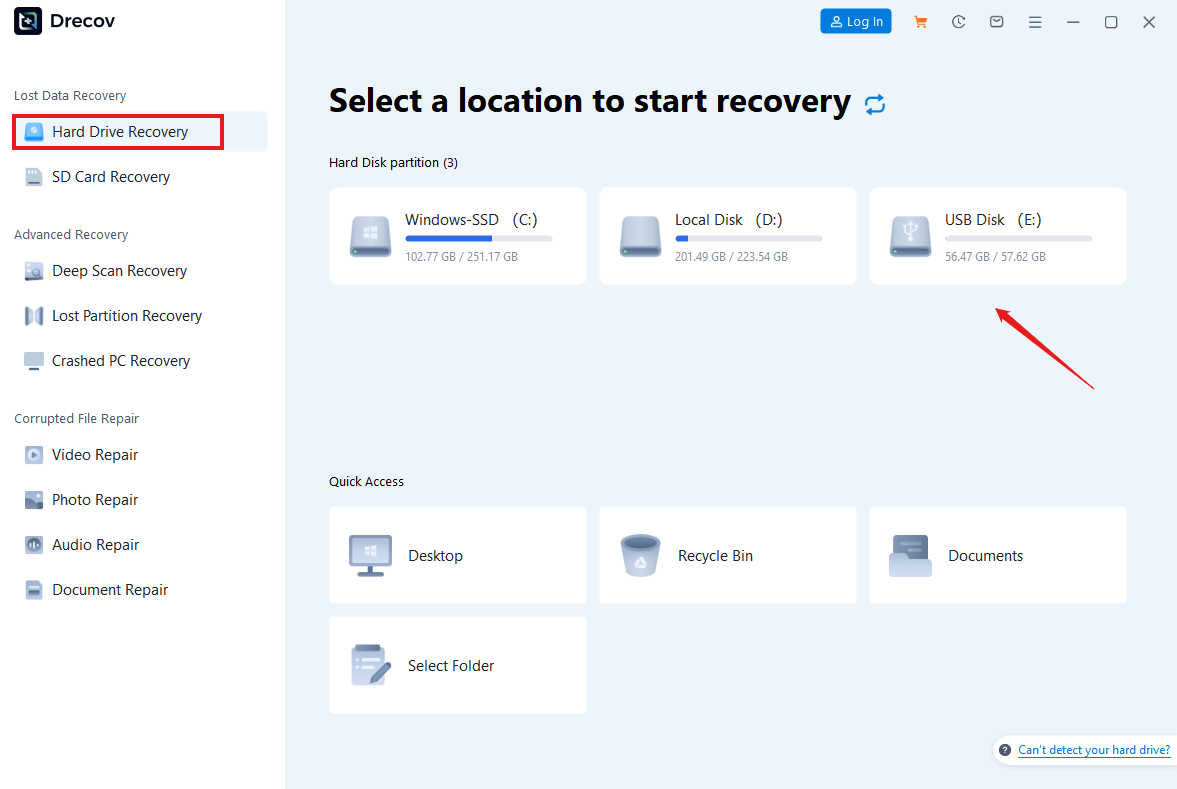
- Launch Pandaoffice Drecov and select the external drive.
- Run a deep scan to locate lost or deleted files, including documents, photos, videos, and other file types.
- Preview recoverable files and save them to a safe location (not on the same drive).


Why Choose Pandaoffice Drecov?
When it comes to reliable data recovery, choosing the right tool can make the difference between permanent loss and successful restoration. Pandaoffice Drecov is designed with advanced scanning algorithms and user-friendly workflows to help individuals and professionals recover lost files quickly and safely across multiple storage scenarios. Whether you accidentally deleted important security footage or lost precious photos, the software provides comprehensive support for different devices and file systems.
For example, if you need to recover deleted Blink videos, Drecov can scan storage locations and retrieve video files even after accidental removal or formatting. Photographers and everyday users also benefit from its powerful usb photo recovery capabilities, allowing restoration of images from USB flash drives, memory sticks, and other portable devices without complicated steps.
In addition, the software excels at deleted sd card photo recovery, making it ideal for recovering lost pictures from cameras, drones, or mobile devices. Even when files seem permanently erased, deep scanning technology increases the chances of successful recovery. For larger storage failures, Drecov also supports recover external hard drive scenarios, including corrupted partitions, inaccessible drives, or accidental formatting.
Beyond its technical capabilities, Pandaoffice Drecov prioritizes safety and simplicity. The read-only recovery process ensures no further damage is done to your data, while the intuitive interface allows users of all experience levels to complete recovery in just a few clicks. With broad device compatibility, fast scanning performance, and dependable results, Pandaoffice Drecov is a trusted solution for anyone facing unexpected data loss.
Professional recovery tools significantly increase success rates compared to manual attempts.
⚠️Warning: Do not attempt formatting or repair on macOS before recovery, as this may permanently erase your data.
Note: After recovering data via a compatible system, you can reformat the drive to a macOS-compatible file system (APFS, HFS+, or exFAT) to restore normal use on your Mac.
Fix 10: Format the Lacie Hard Drive (Last Resort)
If all other methods fail, formatting the Lacie drive can restore accessibility, but will erase all data. Only proceed after recovering important files with Pandaoffice Drecov.
Steps to format:
- Open Disk Utility and select the drive.
- Click Erase, choose a compatible format (APFS or exFAT), and assign a name.
- Click Erase and wait for the process to complete.
- Reconnect the drive and check detection.
This method fixes file system corruption and resolves lacie hard drive not showing up on mac in most cases. After formatting, the drive will be ready for use, and future detection problems are minimized if proper ejection and connection procedures are followed.
⚠️Warning: Ensure all important files are recovered before formatting, as data will be permanently deleted.
Frequently Asked Questions (FAQ)
Q1: Why does my Lacie drive appear in Disk Utility but not Finder?
A: This often happens if the drive is unmounted or lacks a drive letter. Mounting in Disk Utility or using Pandaoffice Drecov to recover data usually resolves the issue.
Q2: Can a faulty cable cause detection issues?
A: Yes. Always test with a known good USB/Thunderbolt cable and different port. Faulty cables are a common reason for lacie hard drive not showing up problems.
Q3: Is it safe to use Terminal for recovery?
A: Yes, but commands must be precise. Mistyped commands can lead to data loss. Using recovery software like Pandaoffice Drecov is safer for critical files.
Conclusion
Dealing with a lacie hard drive not showing up on mac can be stressful, but following systematic troubleshooting usually restores functionality. From checking connections and Disk Utility to advanced fixes like SMC/NVRAM reset, and finally data recovery with Pandaoffice Drecov, most users can regain access safely.
By combining preventive maintenance, software updates, and professional recovery solutions, you can minimize the risk of future detection issues and protect valuable data stored on your Lacie external drives.


