


We have all been there. You are scrolling through your gallery, clearing out clutter, and—snap—your thumb slips. Suddenly, a precious memory from last summer or a critical work screenshot vanishes into the digital void. The immediate panic is real, but here is the good news: deleting a photo does not mean it is gone forever. Whether you are using a smartphone, a PC, or a professional camera, knowing how to undo a deleted photo is a skill that can save your day and your data.
In this comprehensive guide, we will explore everything from basic built-in features to advanced professional recovery software. By the end of this article, you will be equipped with the knowledge to navigate the complexities of file systems and retrieve deleted photos with confidence.
The Science of Digital Deletion: Why Recovery is Possible
Before we dive into the “how,” it is essential to understand the “why.” When you delete a file on a modern operating system, the computer does not immediately scrub the data from the physical storage drive. Instead, it marks the space occupied by that file as “available.”
Think of your hard drive like a massive library. When you delete a photo, the librarian (the OS) simply removes the entry from the index card catalog. The book (your photo) is still sitting on the shelf. However, if you keep adding new books, the librarian will eventually place a new book on that exact spot, overwriting the old one. This is why the golden rule of data recovery is: Stop using the device immediately.
How to Retrieve Deleted Photos Using Built-in Features
For most users, the simplest way to solve the mystery of how to undo a deleted photo is to look in the most obvious places. Modern operating systems have built-in “safety nets” designed specifically for accidental deletions.
Method 1: Checking the Recycle Bin or Trash
Whether you are on Windows or macOS, your first stop should always be the temporary storage area for deleted items.
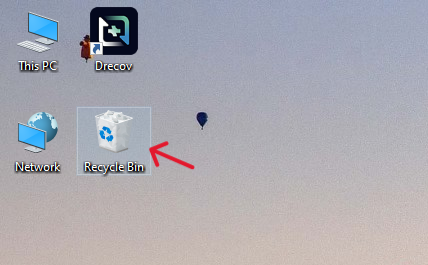
- Step 1: On Windows, double-click the Recycle Bin icon on your desktop. On Mac, click the Trash icon in your Dock.
- Step 2: Use the search bar in the top right corner to type the name or file extension (e.g., .jpg, .png) of the missing image.
- Step 3: Once you find the file, right-click it and select Restore (Windows) or Put Back (Mac).
Method 2: The “Recently Deleted” Album on Smartphones
If you are wondering how to undo a deleted photo on an iPhone or Android device, the process is even more straightforward.
- Step 1: Open your Photos app (iOS) or Google Photos (Android).
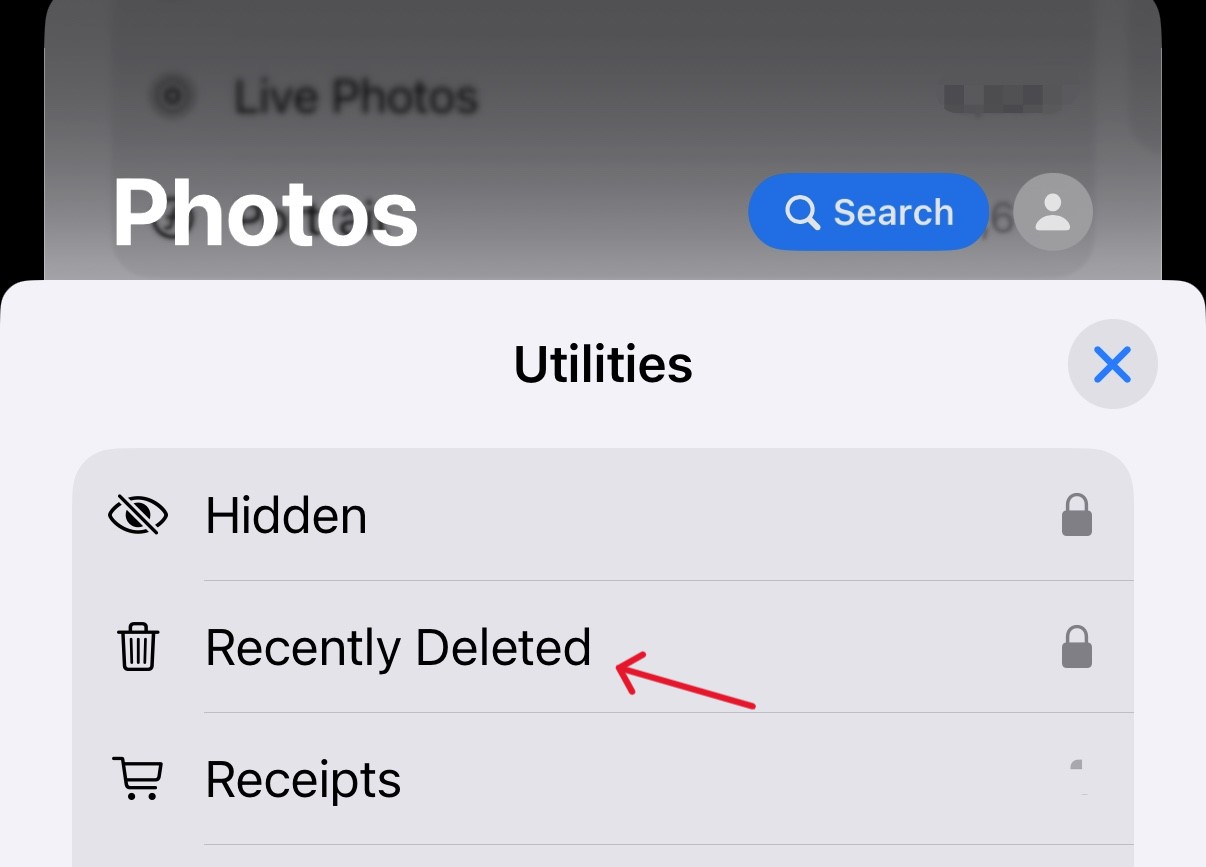
- Step 2: Navigate to Albums and scroll down to find Recently Deleted or Trash.
- Step 3: Select the photos you want back and tap Recover or Restore.
Pro Tip: Most devices keep deleted photos in this folder for 30 to 60 days. If you wait longer than that, the system will automatically purge them to save space.
Retrieve Deleted Photos via Cloud Backups
In our hyper-connected world, your photos are likely synced to a cloud service. If you accidentally deleted a photo from your local device, it might still be sitting safely in the cloud.
Google Photos and iCloud
If you have “Back up & sync” enabled, your photos are mirrored across all devices. Even if you delete a photo from your phone’s local storage, check the web version of your cloud provider.
- iCloud: Log in to iCloud.com and check the “Photos” section.
- Google Photos: Visit photos.google.com and check the “Trash” sidebar.
OneDrive and Dropbox
For those who use professional cloud storage for photography, these services offer “Version History.”
- Step 1: Right-click the folder where the photo used to live.
- Step 2: Select Version History.

- Step 3: Browse through previous timestamps to find the version of the folder that still contained your image.
Advanced Recovery: How to Undo a Deleted Photo with PandaOffice Drecov
When the Recycle Bin is empty and the cloud backup is nowhere to be found, it is time to bring in the heavy hitters. Professional data recovery software can scan the “unallocated space” of your drive to find files that have been delisted but not yet overwritten.
PandaOffice Drecov is a premier choice for this task, offering a balance of powerful deep-scan algorithms and a user-friendly interface. It supports over 1000+ file formats, including RAW images from professional cameras.
⚠ Warning: Do NOT install the software on the same drive or partition where the deleted photo was located. This prevents the installation process from overwriting the very data you are trying to save.
Step-by-Step Recovery with PandaOffice Drecov
Follow these steps carefully to maximize your chances of success.
- Step 1: Select the Location Upon launching the app, you will see a list of available drives (C:, D:, External USBs, etc.). Select the specific drive or folder where the photo was originally stored. If you are recovering from a camera, plug in your SD card via a card reader now.

- Step 2: Start the Scan Click the Scan button. PandaOffice Drecov will perform two types of scans: a Quick Scan for recently deleted files and a Deep Scan which looks at the raw data sectors.

- Step 3: Filter and Preview As the scan progresses, you don’t have to wait for it to finish. Use the File Type filter on the left sidebar and select “Graphics/Photos.” You can also filter by file extension, such as
.jpgor.arw. Double-click any found image to see a Full Preview. This ensures the file is not corrupted before you proceed.

- Step 4: Recover and Save Check the boxes next to the photos you wish to retrieve. Click the Recover button.
Key Operation Point: Always save your recovered photos to a different drive (e.g., an external hard drive or a different partition) to ensure the integrity of the data.
Technical Recovery via Command Line (Windows/CMD)
For those who prefer a more “under the hood” approach to how to undo a deleted photo, Windows offers a built-in utility called Windows File Recovery, available via the Microsoft Store. This is a command-line tool that is highly effective but requires precision.
- Step 1: Open the Command Prompt as an Administrator (Right-click Start > Terminal Admin).
- Step 2: Use the following syntax to scan for deleted photos:
winfr C: D: /regular /n *.jpg- C: is the source drive.
- D: is the destination for recovered files.
- */n .jpg tells the system to look specifically for JPEG files.
Common Pitfalls to Avoid During Photo Recovery
Knowing how to undo a deleted photo is only half the battle; avoiding mistakes that make recovery impossible is the other half.
- Do Not Defragment Your Drive: Defragmentation moves data around to optimize performance. This is the fastest way to overwrite your deleted photos.
- Avoid “Disk Cleanup” Tools: These tools are designed to purge temporary files and “ghost” data, which often includes the deleted images you are trying to save.
- Check Your SD Card Write-Protect Switch: If you are recovering from an SD card, ensure the physical “Lock” switch is NOT in the locked position, as some software needs minor write access to index the scan.
If you are dealing with specific hardware like memory cards, you might find these specialized guides helpful:
- Learn how to recover deleted photos from SD card if your camera storage fails.
- Struggling with cloud sync? Check our guide on how to recover deleted OneDrive files.
- For a deep dive into portable storage, read more on how to recover deleted photos from an SD card for advanced troubleshooting.
Summary of Methods to Retrieve Deleted Photos
| Method | Difficulty | Best For |
| Recycle Bin / Trash | Very Easy | Immediate mistakes on PC/Mac |
| Recently Deleted Album | Very Easy | Accidental mobile deletions |
| Cloud Sync (Google/iCloud) | Easy | Cross-device recovery |
| PandaOffice Drecov | Easy | Formatted drives, emptied bins, corrupted cards |
| Command Line (CMD) | Hard | Technical users, no-GUI preference |
Common FAQs: How to Undo a Deleted Photo
1. Can I retrieve deleted photos if my computer’s Recycle Bin was recently emptied?
Yes, you can still retrieve deleted photos even after the Recycle Bin is emptied. When you “empty” the bin, Windows simply removes the file pointers and marks that storage sectors as “ready to be overwritten.” As long as you have not saved a large number of new files to that drive, professional software like PandaOffice Drecov can perform a signature-based scan to reconstruct the image data. To maximize your success, avoid downloading any new software or streaming videos until the recovery is complete.
2. Is it possible to undo a deleted photo on an SD card used in a professional DSLR?
Absolutely. Professional cameras usually utilize a FAT32 or exFAT file system on SD cards. When a photo is deleted in-camera, the file header is modified, but the actual image clusters remain intact on the flash memory. By following the steps on how to undo a deleted photo using a card reader and specialized recovery tools, you can often recover the original RAW or JPEG files. Just ensure the “Write Protect” switch on the side of the SD card is toggled to “On” to prevent accidental data corruption during the scan.
3. Why can’t I find my photos in the “Recently Deleted” folder on my smartphone?
There are usually two reasons for this. First, most mobile operating systems (iOS and Android) automatically purge items in the “Recently Deleted” or “Trash” album after 30 to 60 days. If that window has passed, the system permanently deletes the files to reclaim space. Second, if you manually “Delete Permanently” from within that folder, the built-in safety net is bypassed. In such cases, your best bet is to check a secondary cloud backup like Google Photos or use a desktop-based recovery tool that can interface with the phone’s storage.
4. Does “Formatting” a drive mean I can never retrieve deleted photos from it?
Not necessarily. If you performed a “Quick Format,” the data is still there; only the file system index was rebuilt. However, if you performed a “Full Format,” the operating system may have overwritten the sectors with zeros, making recovery virtually impossible. When trying to understand how to undo a deleted photo from a formatted drive, always use the “Deep Scan” mode in PandaOffice Drecov, as it ignores the corrupted file index and looks directly at the binary data patterns of the image files.
5. Can I use hotkeys like Ctrl+Z to undo a deleted photo?
You can use Ctrl + Z (Windows) or Command + Z (Mac) to undo a deletion, but only if it was the very last action you performed in the File Explorer or Finder. If you have closed the window, restarted your computer, or performed other file operations (like moving or renaming other folders), the “Undo” command in the system memory will be cleared. If the hotkey fails, you must transition to checking the Recycle Bin or using data recovery software to retrieve deleted photos.
Conclusion
Losing a photo can feel like losing a piece of history, but with modern technology, you have a high probability of a successful “undo.” Start with the simplest built-in solutions and only move to professional tools like PandaOffice Drecov if the basic steps fail. Remember, the key to success is acting fast and stopping all disk activity.


