


Video files represent some of the most complex data structures on a modern storage drive. Whether it is a professional 4K wedding film, a corporate presentation, or a cherished family memory, losing these files creates immediate panic. Fortunately, Microsoft provides a robust command-line utility for this exact crisis. In this masterclass, we will explore how to recover videos using Windows File Recovery, understand the physics of data storage, and implement fail-safe strategies to ensure your digital assets remain intact.
The Digital Anatomy: Why Video Recovery is Unique
Before we dive into the mechanics of how to recover videos using Windows File Recovery, we must acknowledge why videos differ from simple text documents. A video file is essentially a container (like MP4, MOV, or AVI) holding multiplexed streams of audio and video data.
The Fragmentation Challenge
Because video files are large, the Windows operating system rarely saves them in one continuous block on your hard drive. Instead, it scatters “fragments” across available sectors. When you delete a file, Windows simply marks those sectors as “available.” Any continued use of the computer can allow new system or browser temporary files to replace those fragments.
If you lose one fragment of a Word document, you lose a paragraph. If you lose one fragment of a video, the entire container may fail to initialize, resulting in a “File Corrupted” error even after a successful recovery. This is why learning how to recover videos using Windows File Recovery requires a surgical approach to data blocks.
The SSD vs. HDD Factor
The hardware determines your success rate:
- HDD (Hard Disk Drives): Data remains on the platter until physically overwritten. Recovery success is high.
- SSD (Solid State Drives): Most modern SSDs use the TRIM command. When you delete a video, TRIM tells the drive to wipe the cells immediately to maintain write speeds. For SSD users, the window of opportunity is measured in minutes, not hours.
Preparing the Environment: The Golden Rules of Data Rescue
If you want to master how to recover videos using Windows File Recovery, you must first prevent “Data Suicide.” Data suicide occurs when a user inadvertently overwrites the very files they are trying to save.
Rule 1: Immediate Cessation of Activity
All online activities, including downloading, streaming, and web browsing, should be stopped immediately. Every action generates temporary files. If your lost video is on the C: drive, shut down non-essential applications immediately.
Rule 2: The Target Drive Requirement
Never, under any circumstances, install recovery software or save recovered files onto the same drive where the loss occurred. If you are scanning C:, your destination must be D:, an external USB drive, or network-attached storage.
Rule 3: Administrative Privileges
Windows protects the file system structure at the kernel level. To bypass these protections and see “ghost” data, you must run all tools with elevated permissions.
How to Recover Videos Using Windows File Recovery (The Official Microsoft Method)
Windows File Recovery (WinFR) is a powerful, no-frills command-line tool available on the Microsoft Store. It does not have a fancy interface, but it utilizes the same logic as expensive forensic suites.
Installation and Setup
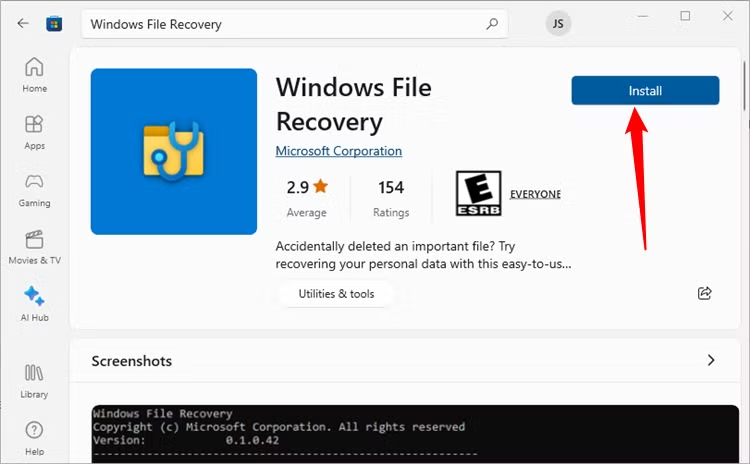
- Navigate to the Microsoft Store.
- Search for Windows File Recovery.
- Download and launch the application. This will open a Command Prompt window with the
winfrprefix ready.
Understanding the Syntax
The basic structure for the command is:
winfr source-drive: destination-drive: [/mode] [/switches]
Scenario A: Recovering Recently Deleted Videos (Regular Mode)
If your drive uses the NTFS file system and you just deleted the file, the Regular mode is the fastest way.
Command: winfr C: E: /regular /n *.mp4
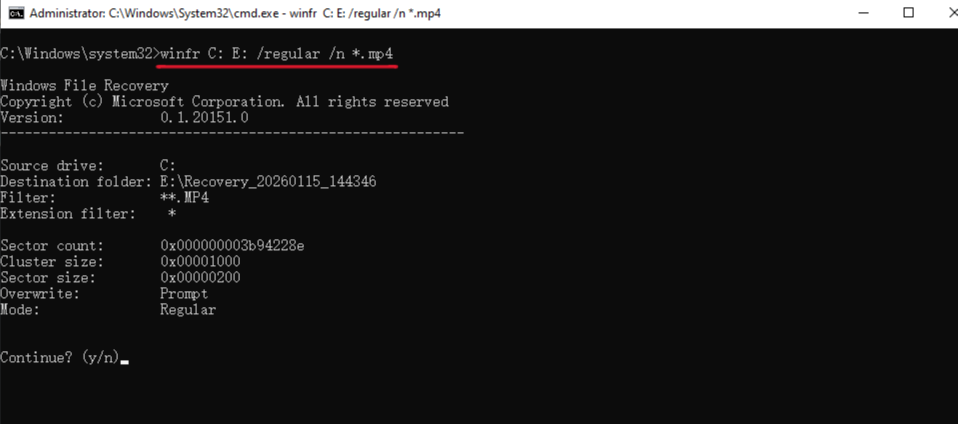
- Why use this? It relies on the Master File Table (MFT) to find the file’s “address.”
- How to recover videos using Windows File Recovery for multiple formats? Use:
winfr C: E: /regular /n *.mp4 /n *.mov /n *.avi
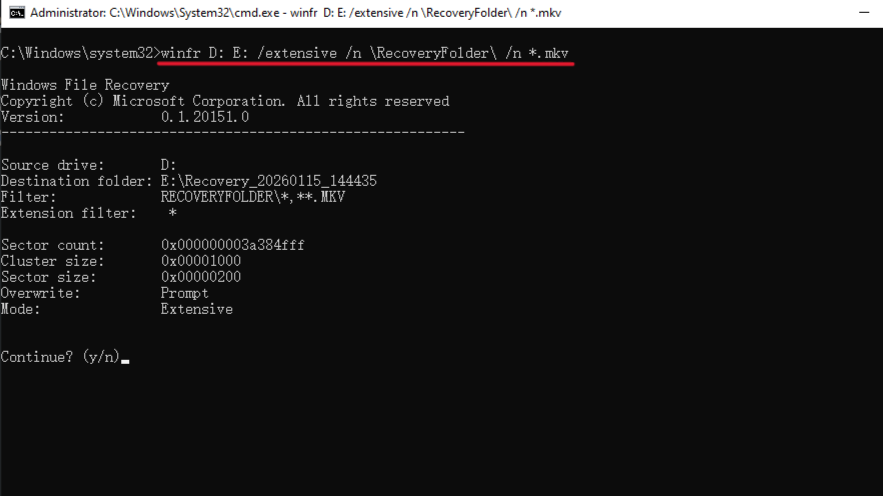
Scenario B: Recovering from Formatted or Corrupted Drives (Extensive Mode)
If the drive was formatted or the file system shows as “RAW,” Regular mode will fail. You need the Extensive mode, which performs a “signature scan.” It looks for the specific binary headers of video files.
Command: winfr D: E: /extensive /n \RecoveryFolder\ /n *.mkv
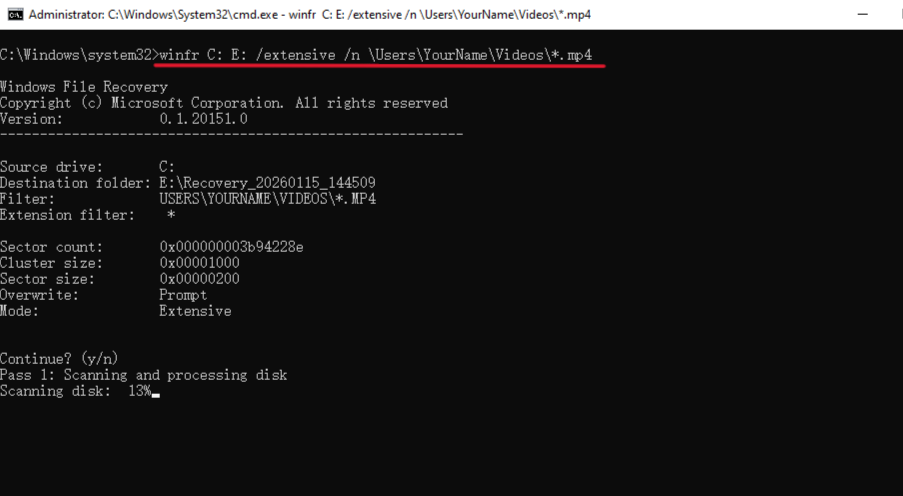
Scenario C: Targeted Folder Recovery
If you know exactly where the videos were (e.g., the “Videos” folder), you can narrow the search to save time and reduce “noise.”
Command: winfr C: E: /extensive /n \Users\YourName\Videos\*.mp4
Professional Techniques: Beyond the Basic Command Line
Knowing how to recover videos using Windows File Recovery is only half the battle. You must also know how to handle the results.
Interpreting the Log Files
After the process completes, WinFR creates a folder named Recovery_[Date]_[Time]. Inside, you will find a RecoveryLog.txt.
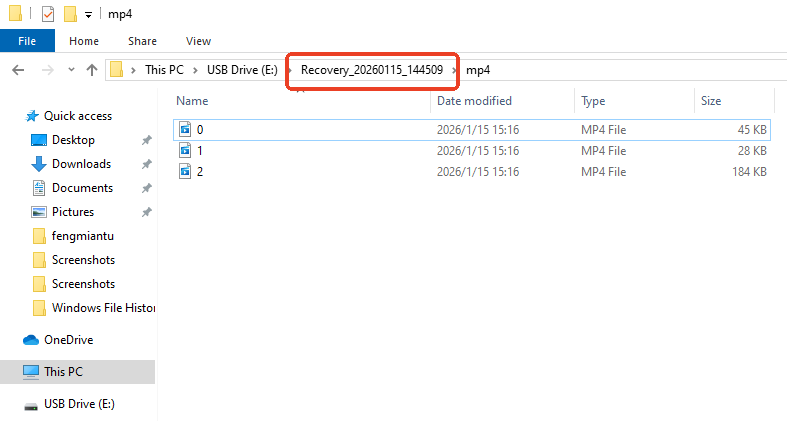
Professional data rescuers examine this log to see if any sectors returned “Read Errors.” If you see many read errors, your hard drive might be physically failing (hardware level), and software recovery could actually worsen the situation.
Signature-Based Recovery (The Deep Dive)
When you use the /extensive switch, the tool performs “File Carving.” It ignores the file system and looks for the hex code 00 00 00 18 66 74 79 70 (the common header for MP4 files). This is the most reliable way to recover videos when the drive structure is destroyed.
Why Most Users Prefer PandaOffice Drecov for Video Restoration
While learning how to recover videos using Windows File Recovery is a great skill, the tool lacks one vital feature: Visual Preview. In the professional world, we call this the “Verify Before Restore” workflow. Using a GUI-based tool like PandaOffice Drecov offers several advantages for large-scale video loss.
Benefits of the Graphical Approach:
- File Integrity Shield: PandaOffice Drecov automatically reassembles fragments of high-resolution videos (like 4K/8K) that WinFR might miss.
- Filter by Size: Videos are usually >100MB. You can filter out small system junk files to find your recordings instantly.
- Cross-Platform Support: While WinFR is limited to Windows-native formats, Drecov handles SD cards from Sony, Canon, and GoPro cameras which often use specialized FAT32 or exFAT configurations.
- Versatility: It recovers photos, videos, audio, compressed files (ZIP/RAR), and even system files like EXEs.
- Accidental deletion from your computer desktop.
- Files lost after emptying the Recycle Bin.
- Data loss from disk formatting.
- Accidental deletion or formatting of SD cards/U disks.
- Sync error occurring with deleted OneDrive files
- Privacy First: All recovery happens locally on your machine, so you don’t have to worry about your private data leaking to the web.
🚨 Important Warning: Do not install this on the same drive where the lost files were. Use an external USB drive to keep the data safe from being overwritten.
How to use PandaOffice Drecov:
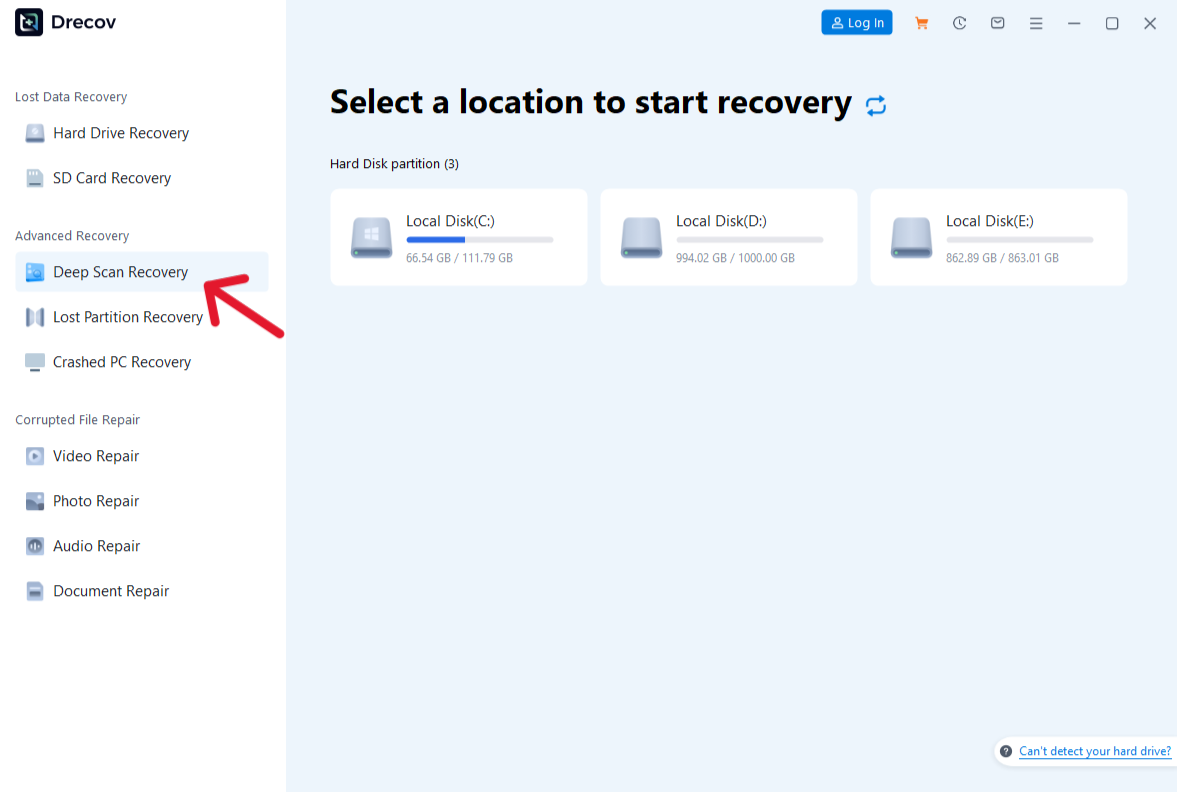
- Scan: Choose the drive and run the Deep Scan algorithm.
- Preview: Double-click the video. If the video plays in the preview window, the recovery success rate is 100%.
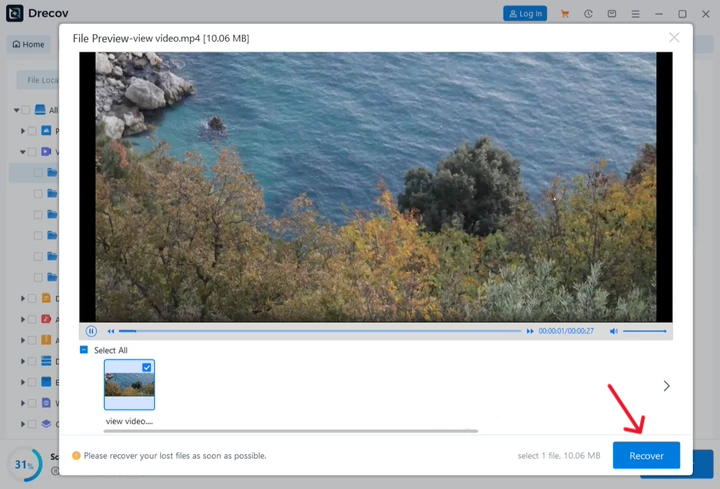
- Save: Export to a safe location.
Advanced Troubleshooting: When the Recovered Video Won’t Play
You followed the steps on how to recover videos using Windows File Recovery, you found the file, you saved it… but it won’t open. This is a common hurdle in video forensics.
Why does this happen?
The “Container” is broken. The data is there, but the “Table of Contents” at the beginning of the file is missing or contains zeros.
The Solution: Video Repair Metadata Reconstruction
If your recovered file has the correct size (e.g., 2GB) but shows a black screen:
- Find a “Reference File”: Use a working video shot on the same camera with the same settings.
- Use a Hex Editor or Repair Tool: Tools can copy the header from the working video and “stitch” it onto the recovered data.
- Check for Partial Overwrites: Sometimes a small portion of the video is overwritten. A professional tool can often skip the “bad” frames and recover the rest of the footage.
Cloud-Based Contingencies: The OneDrive and Shadow Copy Safety Net
Even if you focus on how to recover videos using Windows File Recovery, do not ignore the built-in “Time Machine” features of Windows.
Previous Versions (Shadow Copies)
Windows often takes “snapshots” of your folders.
- Right-click the folder where the video lived.
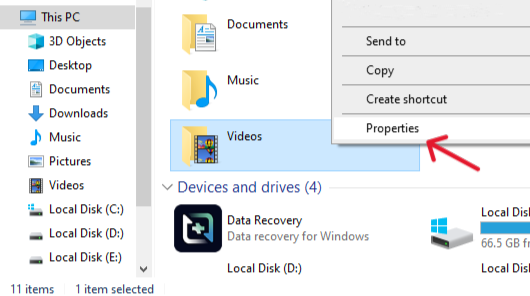
- Select Properties > Previous Versions.
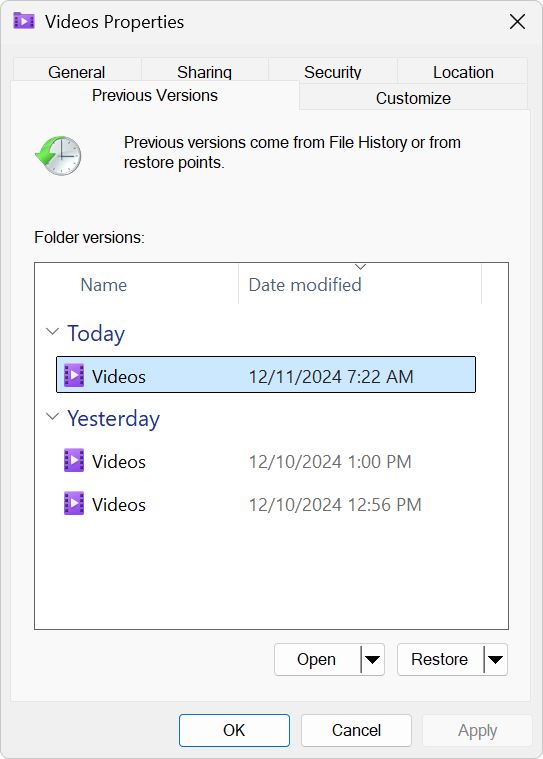
- If a version exists from yesterday, you can “Restore” it without running a single scan.
The OneDrive Recycle Bin
Many users forget that Windows 11 automatically syncs the “Videos” folder to OneDrive.
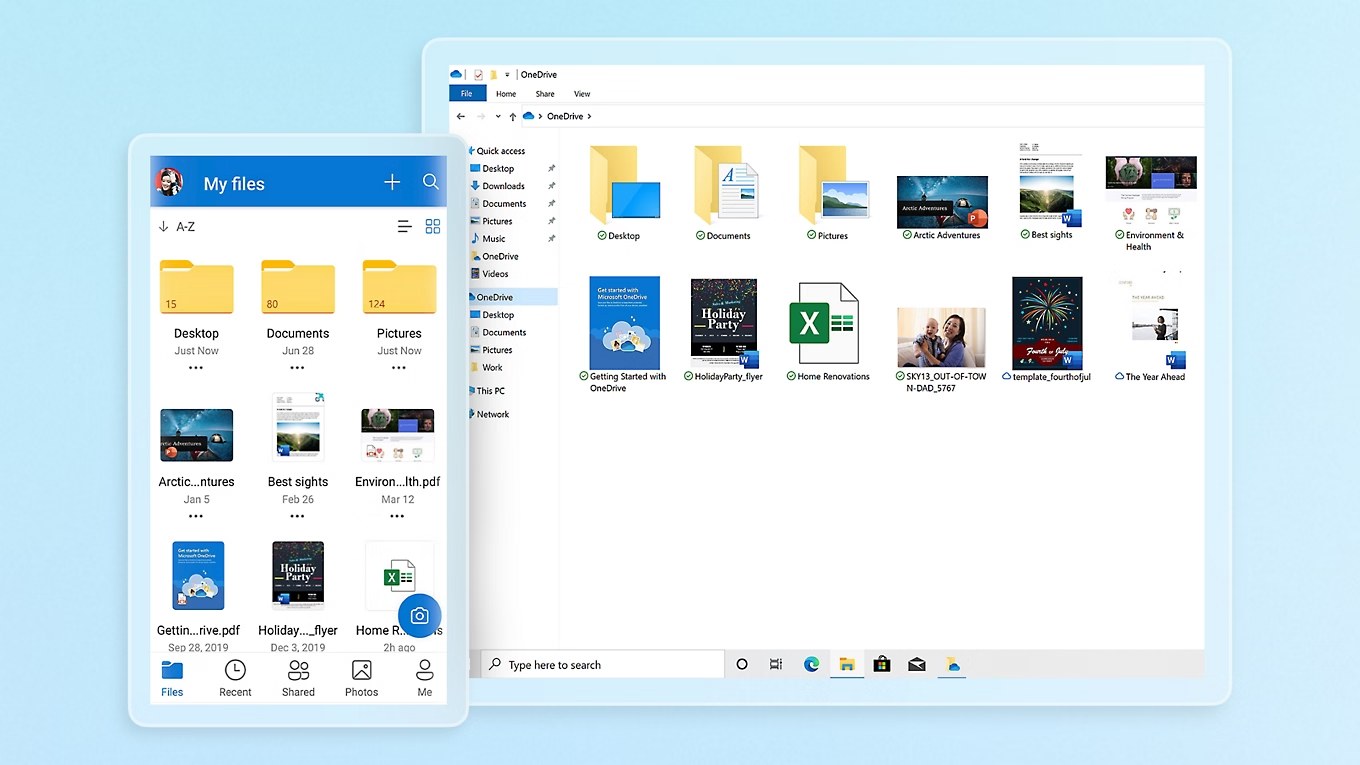
Even if you emptied your local Recycle Bin, the OneDrive Cloud Recycle Bin keeps files for 30 days. Log in to the web portal to check before attempting a grueling disk scan.
Comprehensive Comparison: Recovery Methods at a Glance
| Scenario | Tool Recommended | Success Rate | Difficulty |
| Just pressed “Delete” | Recycle Bin | 100% | Very Low |
| Shift+Delete (NTFS) | WinFR (Regular) | High | Medium |
| Formatted SD Card | PandaOffice Drecov | High | Low |
| Corrupted OS Drive | WinFR (Extensive) | Medium | High |
| SSD Deletion (1 hour ago) | Professional Lab | Low | Expert |
Preventing Future Video Loss: The “3-2-1” Strategy
Expertise in how to recover videos using Windows File Recovery is a reactive skill. Proactive protection is better.
The 3-2-1 Rule:
- 3 copies of your data.
- 2 different media types (e.g., an Internal HDD and an External SSD).
- 1 copy off-site (Cloud storage or a drive at a different location).
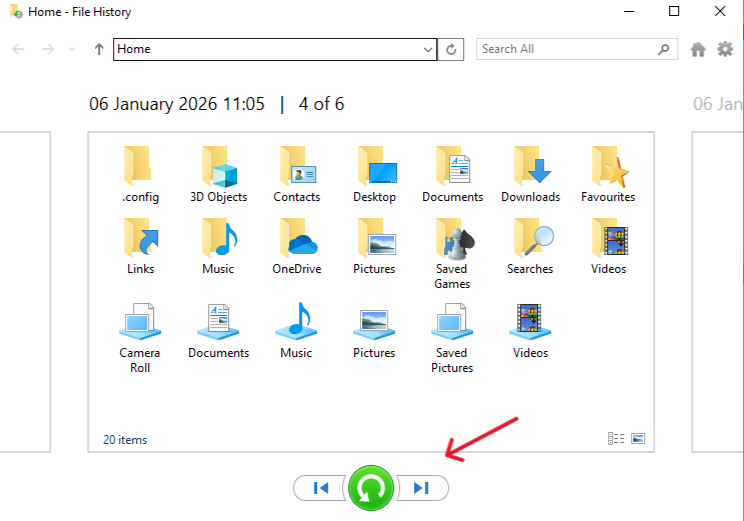
Automation:
Enable Windows File History. It acts as a continuous backup engine. If you delete a video, you simply “slide back the clock” and pull it back.
Conclusion
Learning how to recover videos using Windows File Recovery empowers you to take control of your data without spending hundreds of dollars on professional services. By combining the raw power of Microsoft’s command-line tools with the user-friendly interface of modern software like PandaOffice Drecov, you create a multi-layered defense against data loss.
Remember: the moment you realize a video is missing, the clock starts ticking. Stop using the drive, choose your method, and recover your files to a safe location. Your memories and professional projects are worth the effort of a systematic, professional recovery process.


