


A Windows recovery partition is a dedicated section of your hard drive that stores system recovery files and tools. This partition allows you to restore Windows 10 in case of system failure, boot errors, or malware attacks. Many users may want to create a recovery partition Windows 10 to ensure they can recover their system without external media.
Creating a recovery partition enhances system security, provides a convenient backup option, and helps avoid data loss. Professional tools like Pandaoffice Drecov can assist in creating and managing recovery partitions safely.
⚠️Warning: Modifying disk partitions carries risks. Always back up your important files before creating a recovery partition.
This guide will cover multiple ways to create a recovery partition Windows 10, including built-in Windows tools, command-line methods, and using professional software. It also explains precautions, best practices, and answers common questions.
Understanding Recovery Partitions in Windows 10
Purpose and Importance
A Windows 10 recovery partition stores essential files for troubleshooting, resetting, or reinstalling the operating system. Its benefits include:
- Quick system recovery without USB drives
- Access to built-in troubleshooting tools
- Protection against accidental data loss or OS corruption
Most computers come with a pre-installed recovery partition. However, users may want to create a Windows 10 recovery partition manually to replace lost partitions or to add custom recovery tools.
When to Create a Recovery Partition
You might need to create a recovery partition Windows 10 in situations such as:
- After performing a clean Windows installation
- Replacing or upgrading your hard drive or SSD
- Preparing a system for dual-boot configurations
- Ensuring a backup for critical business or personal systems
Creating a recovery partition ensures that, even without external media, you can restore Windows or troubleshoot startup issues efficiently.
⚠️Warning: Ensure the drive has enough free space (at least 500MB–1GB) for the recovery partition.
Preparation Before Creating a Recovery Partition
Steps to Minimize Risk
Before attempting to create a recovery partition Windows 10, take the following precautions:
- Back up important files to an external drive.
- Check available disk space and ensure unallocated space is sufficient.
- Identify system partitions to avoid overwriting them.
- Close all running applications during the process.
Proper preparation helps prevent accidental data loss and ensures that the recovery partition works as intended.
Methods to Create a Recovery Partition in Windows 10
Method 1: Using Windows Built-in Recovery Tools
Test Environment:
Windows 10 Pro, 1TB SSD, GPT disk layout, desktop workstation.
Steps:
- Open Settings → Update & Security → Recovery.
- Click Create a recovery drive.
- Choose whether to back up system files to the recovery drive.
- Select the target drive (USB or unused partition).
- Click Create to generate the recovery drive.
This method provides a simple way to create a Windows 10 recovery partition using built-in tools without third-party software.
⚠️Warning: Using a USB drive for recovery will overwrite all data on that drive.
Method 2: Using Disk Management to Create a Partition
Test Environment:
Windows 10 Home, 500GB SSD, MBR disk layout.
Steps:
- Open Disk Management (Win + X → Disk Management).
- Locate unallocated space or shrink an existing partition to create free space.
- Right-click and choose New Simple Volume.
- Assign a drive letter and format it as NTFS.
- Copy the system recovery files into the new partition.
This manual method allows users to create recovery partitions in Windows 10 without using external media. It is suitable for those who want a local recovery option.
Method 3: Creating a Recovery Partition Using Command-Line Tools
Test Environment:
Windows 10 Pro, 1TB NVMe SSD, GPT disk, administrator account.
Steps:
- Open Command Prompt as Administrator.
- Launch DiskPart:
diskpart
- List available disks:
list disk
- Select the target disk:
select disk 0
- Create a new partition:
create partition primary size=1024
- Format the partition:
format fs=ntfs label="Recovery" quick
- Assign a drive letter:
assign letter=R
- Copy system recovery files to this partition.
This method provides advanced control over partition creation and is recommended for experienced users or IT professionals.
⚠️Warning: Incorrect DiskPart commands can overwrite important partitions.
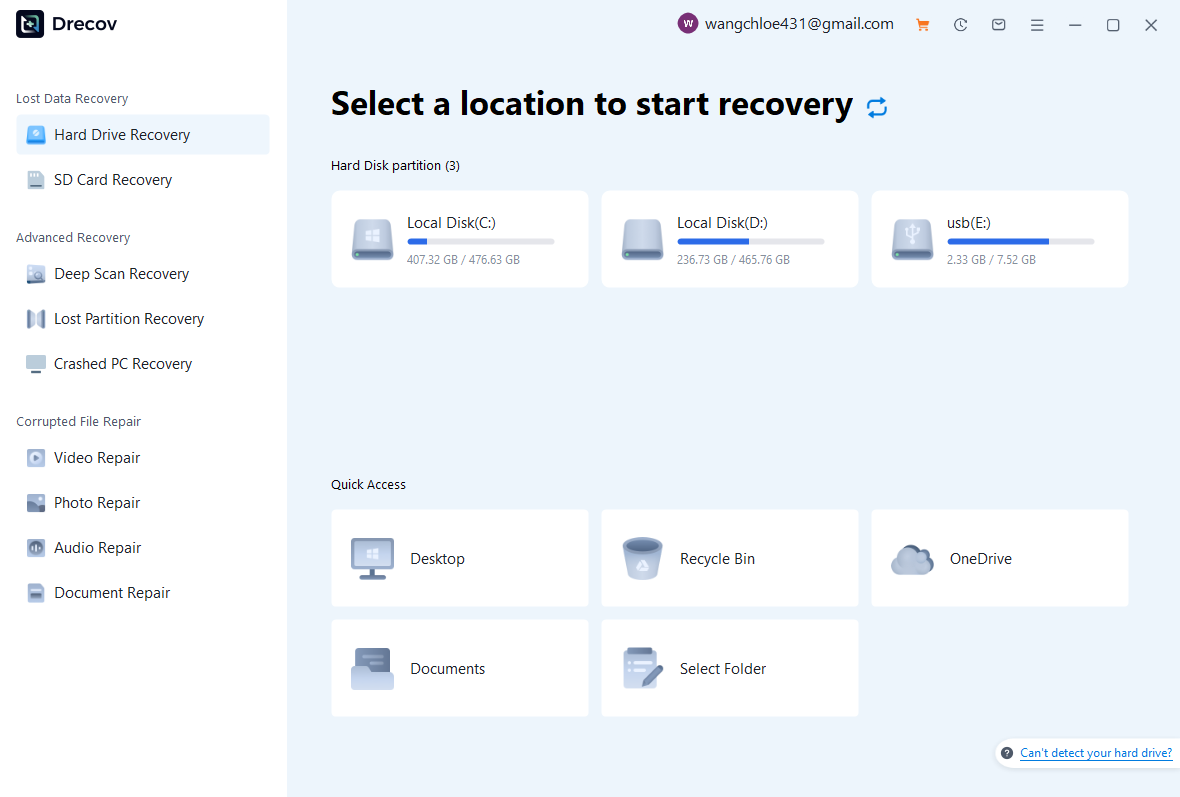
Method 4: Using Pandaoffice Drecov to Create a Recovery Partition
Download DrecovTest Environment:
Windows 10 Enterprise, 2TB SSD, GPT disk, desktop setup.
Pandaoffice Drecov is a professional tool that allows users to create a Windows recovery partition Windows 10 safely. Steps:
- Install and launch Pandaoffice Drecov.
- Select the target disk and check available space.
- Use the partition management feature to create a new recovery partition.
- Copy system files or recovery tools to the new partition.
- Confirm and apply changes.

Why Choose Pandaoffice Drecov?
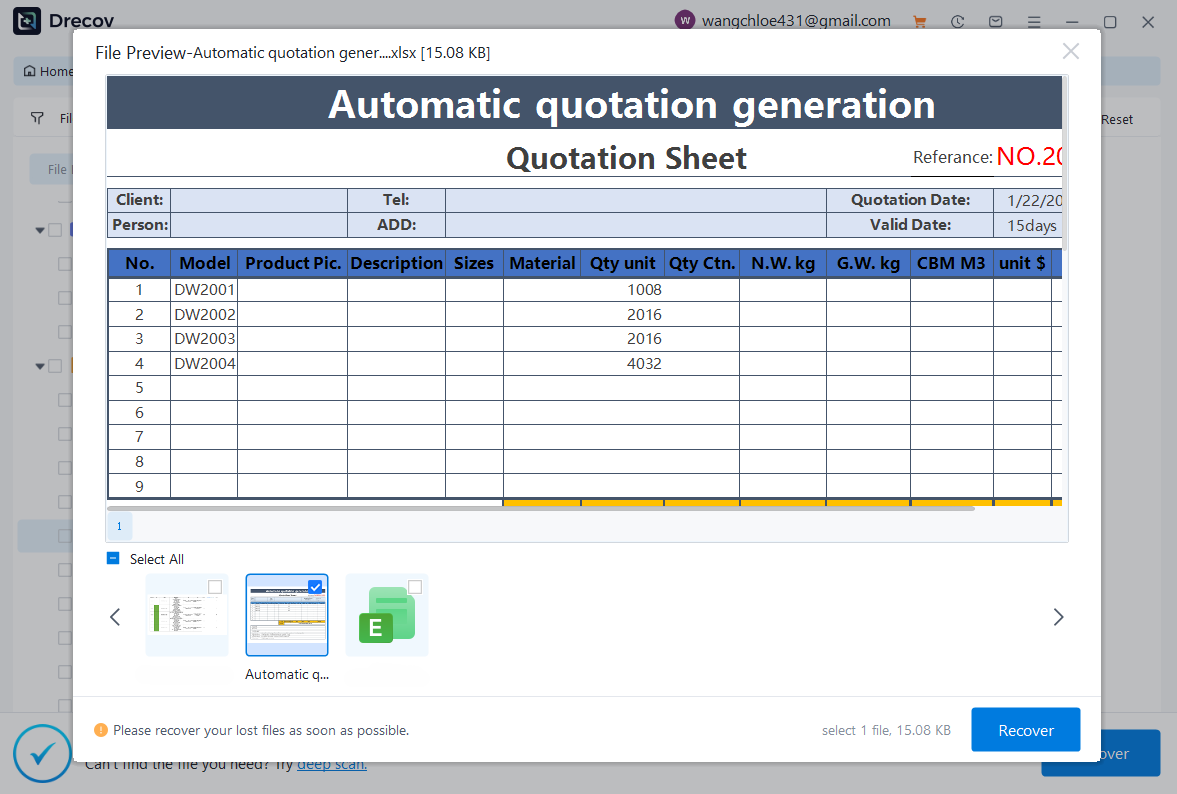
Data loss can occur unexpectedly due to accidental deletion, system crashes, formatting errors, or software failures. Whether you need to restore Windows previous date, perform recover Excel files,or handle deleted PowerPoint recovery, Pandaoffice Drecov provides a reliable and efficient solution designed to restore important documents quickly and safely.
Pandaoffice Drecov is a professional PowerPoint Recovery Software that supports recovery for multiple document types, including Excel spreadsheets, Word documents, and PowerPoint presentations. With advanced scanning technology, the software can detect and recover files even after deletion, formatting, or unexpected system shutdowns. This makes it an ideal tool for users who urgently need Document Recovery from hard drives, SSDs, USB drives, memory cards, and other storage devices.
One of the key advantages of Pandaoffice Drecov is its intelligent deep-scan engine. It carefully analyzes storage sectors to locate lost or hidden files that standard recovery tools often miss. Whether you accidentally deleted a presentation and require deleted PowerPoint recovery, or you lost critical spreadsheets and need to recover Excel files, the software provides fast scanning and high recovery success rates.
The software also features a user-friendly interface that allows beginners and professionals alike to complete recovery tasks in just a few steps. Users can preview recoverable files before restoring them, ensuring that only the needed data is recovered. In situations where files were lost due to system errors, the software can also help recover documents after attempts to restore Windows previous date.
This method is particularly useful for users who want a guided, safe process for creating a recovery partition, avoiding risks associated with manual commands.
⚠️Warning: Always ensure you select the correct disk to avoid overwriting important data.
Method 5: Creating a Recovery Partition After Windows Upgrade
Test Environment:
Windows 10 Pro, 1TB HDD, desktop, GPT disk layout.
After upgrading from an older Windows version, some users may want to create a recovery partition Windows 10 to replace missing recovery tools:
- Open Disk Management.
- Shrink an existing partition to create unallocated space.
- Create a new simple volume labeled “Recovery.”
- Copy recovery tools from Windows installation media.
This method ensures that the upgraded system has a dedicated recovery option, improving system resilience.
Method 6: Using PowerShell to Create a Recovery Partition
Test Environment:
Windows 10 Enterprise, 2TB NVMe SSD, GPT disk layout, admin privileges.
PowerShell provides a powerful scripting approach for creating Windows 10 recovery partitions:
- Open Windows PowerShell (Admin).
- List available disks:
Get-Disk
- Identify the target disk and check free space:
Get-Partition -DiskNumber 0
- Create a new partition:
New-Partition -DiskNumber 0 -UseMaximumSize -AssignDriveLetter
- Format the partition as NTFS:
Format-Volume -DriveLetter R -FileSystem NTFS -Confirm:$false
- Copy recovery files to the new partition.
PowerShell is ideal for IT administrators or advanced users managing multiple systems simultaneously.
⚠️Warning: PowerShell commands execute immediately; double-check disk and partition numbers.
Method 7: Creating a Recovery Partition Using Third-Party Disk Management Tools
Test Environment:
Windows 10 Pro, 1TB SSD, GPT disk, desktop setup.
Third-party software can simplify recovery partition creation:
- Install professional partition management software (like Pandaoffice Drecov).
- Scan the drive for free or unallocated space.
- Create a new partition and label it “Recovery.”
- Copy the system recovery files into the partition.
- Apply changes to the disk.
These tools often offer graphical interfaces, automated checks, and the ability to manage hidden or protected partitions safely.
Method 8: Creating a Recovery Partition from Windows Installation Media
Test Environment:
Windows 10 Home, 500GB SSD, MBR disk layout.
For users without existing recovery partitions:
- Insert Windows installation USB or DVD.
- Boot into Windows setup.
- Use Disk Management or installation tools to shrink an existing partition and create unallocated space.
- Format the new partition as NTFS.
- Copy the recovery environment from installation media.
This method ensures that even clean-installed systems have a dedicated recovery partition for future troubleshooting.
Method 9: Using Backup Images to Create a Recovery Partition
Test Environment:
Windows 10 Pro, 2TB HDD, GPT disk, desktop.
Creating a recovery partition from a backup image allows users to store a system snapshot locally:
- Create a full system image backup.
- Allocate a new partition for recovery.
- Restore the backup image to the new partition.
- Ensure the partition is hidden from normal use but accessible for recovery.
This method is ideal for businesses or advanced users who want a complete, self-contained recovery solution.
⚠️Warning: Do not overwrite active system partitions. Always restore images to separate partitions.
Frequently Asked Questions About Creating a Windows 10 Recovery Partition
Why should I create a recovery partition Windows 10?
A recovery partition allows you to restore Windows without external media, protecting against system failure and saving time during troubleshooting.
Can I create a recovery partition without losing data?
Yes, if you use unallocated space or shrink an existing partition. Backup is still recommended before proceeding.
How large should a recovery partition be?
Typically 500MB–1GB is sufficient for Windows recovery tools. If you include full system backups, you may need more space.
Do I need professional software like Pandaoffice Drecov?
It is recommended for users who want a safe, guided process, especially when creating hidden or protected partitions.
Can I create multiple recovery partitions?
Technically yes, but multiple recovery partitions are usually unnecessary and may complicate disk management.
Conclusion
Creating a Windows 10 recovery partition is essential for system security and easy troubleshooting. Options include:
- Disk Management for simple GUI-based creation
- DiskPart or PowerShell for advanced command-line control
- Pandaoffice Drecov for a safe, professional solution
- Using installation media or backup images for complete system recovery
⚠️Warning: Always back up important files and verify disk selection before making changes.
By following these methods, users can efficiently create a Windows 10 recovery partition, protect their system, and ensure quick restoration in case of failure.


