







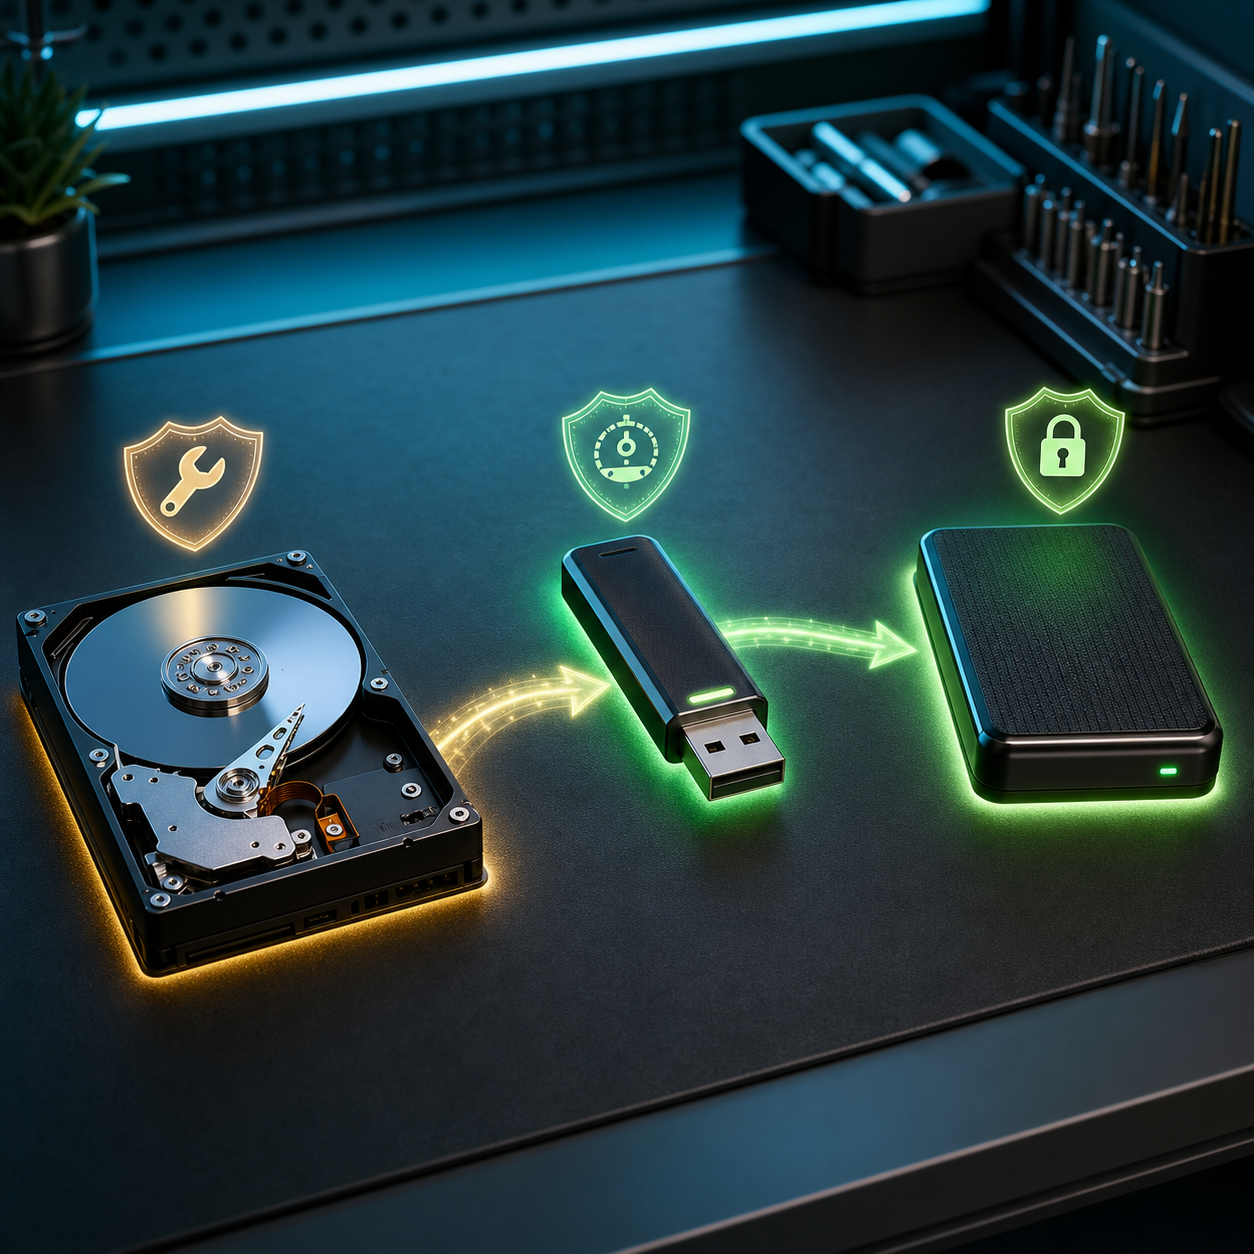
The safest approach to bootable disk is to separate a boot problem from a data problem. A computer can fail to start because firmware cannot see the disk, the wrong device is first in boot order, boot files are damaged, encryption is locked, or the storage itself is failing. Do not initialize, erase, repartition, or reinstall until important files are protected.
This guide covers creating or repairing a bootable disk, non-destructive checks, boot-media creation, and recovery when files are at risk. The key rule is simple: a bootable tool may write to an entire USB drive or disk, so verify the target by model and capacity before continuing.
Bootable Disk: Safe Fixes Without Losing Data: Quick Decision
- Disk is not detected in firmware: check power, cable, port, enclosure, and hardware health before repairing software.
- Disk is detected but no operating system starts: verify boot mode and order, then use the official recovery environment.
- Creating boot media: use a blank removable drive and verify the downloaded image or official utility.
- Drive clicks, disappears, freezes, or changes capacity: stop repeated boots and prioritize controlled imaging or professional recovery.
- Files are more important than immediate startup: recover or back them up before repair, reset, deletion, or reinstallation.
What Bootable Actually Means
A bootable device contains firmware-readable startup structures plus an operating system, installer, or recovery environment. Copying an ISO file onto a USB drive usually does not make it bootable; a media-writing tool must lay out the device correctly. Likewise, a visible data partition does not prove that EFI, recovery, or boot configuration files are intact.
UEFI and legacy BIOS use different startup paths. Modern systems usually expect UEFI, a GPT disk, and a suitable EFI System Partition. Changing these settings at random can hide a previously working installation, so photograph the original firmware configuration before editing it.
Protect Data Before Startup Repair
- Record the exact error, recent hardware or update changes, and whether the disk appears in firmware.
- Disconnect unrelated external disks and memory cards.
- Keep BitLocker or FileVault recovery credentials available.
- If the disk mounts on another trusted computer, copy irreplaceable files to separate storage before repair.
- Do not run CHKDSK, First Aid, partition repair, or reinstall repeatedly on an unstable disk.
- Do not create boot media on a USB drive that contains needed files; the writer normally erases it.
Use Current Official Instructions
Boot and security procedures differ by operating-system version and hardware generation. Use the current official instructions for official installation or recovery-media tools. Confirm whether the action preserves files, changes security policy, or erases the selected device.
Non-Destructive Diagnostic Workflow
- Shut down fully, remove unnecessary peripherals, and reseat only accessible external connections.
- Open firmware or Startup Options and confirm the intended disk is detected by model and capacity.
Checkpoint: stop if the disk is unstable
Clicking, repeated disconnects, extreme slowness, a zero or incorrect capacity, or changing detection are hardware-risk signals. More boot attempts and repair writes may reduce recoverability.
- Confirm UEFI versus legacy mode, storage-controller mode, Secure Boot policy, and boot order against the original configuration.
- Boot trusted recovery media without choosing install, erase, initialize, or reset.
Choose Repair Before Reinstall
Use Startup Repair, safe mode, System Restore, macOS Recovery, or a read-only file copy when applicable. A clean installation is not a diagnostic step; it can overwrite user data and recovery evidence.
- Verify the system volume and important files are visible, then create a separate backup.
- Apply one reversible repair at a time, restart once, and record the result.
Create And Test Boot Media Safely
Download only from the operating-system vendor or a well-established project. Verify the selected version, architecture, and image checksum when published. Use a blank USB drive of adequate capacity, disconnect other removable storage, and let the tool finish verification. Test that the media reaches its recovery menu, then exit without installing.
- Match the operating-system edition and CPU architecture.
- Treat every USB writer warning as a full-device erase warning.
- Use a direct USB port and stable power.
- Keep the working computer and the affected computer clearly separated.
- Label the finished media with system and creation date.
- Recreate old media rather than trusting a damaged or unknown image.
Recover Files Before Destructive Repair
Use PandaOffice Drecov only when needed files existed on readable local storage and no healthy backup provides them. Install and save results on another disk, never the affected source.
- Connect the affected storage without formatting or initializing it.
- Open PandaOffice Drecov and choose the exact affected source.
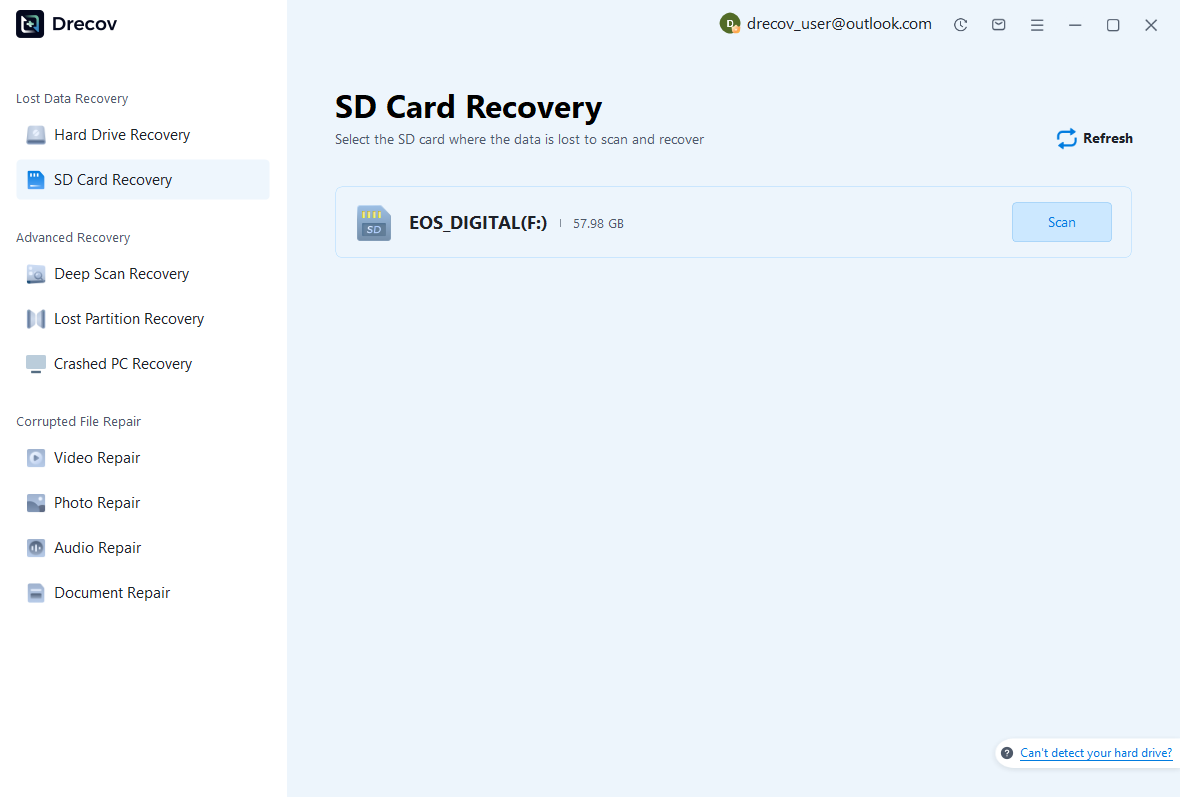
- Run Quick Scan, then Deep Scan only if the device remains stable.
- Filter by path, type, size, date, and name.
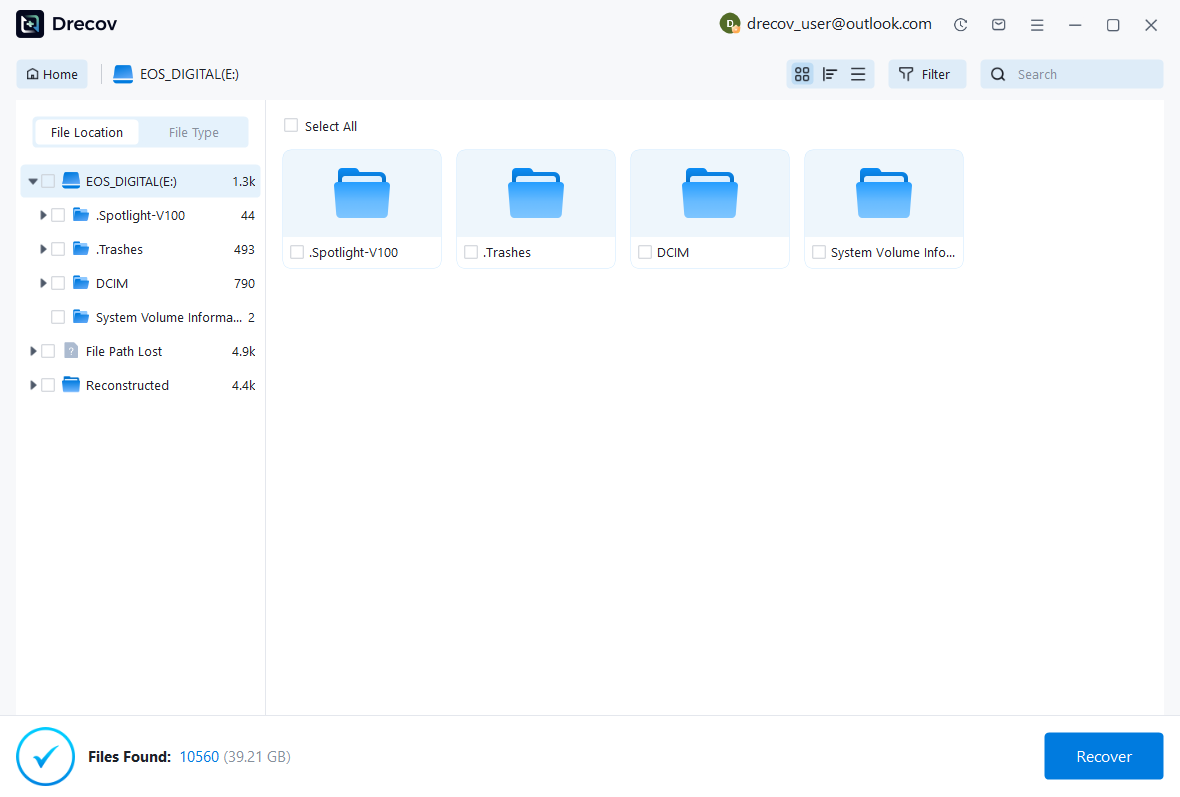
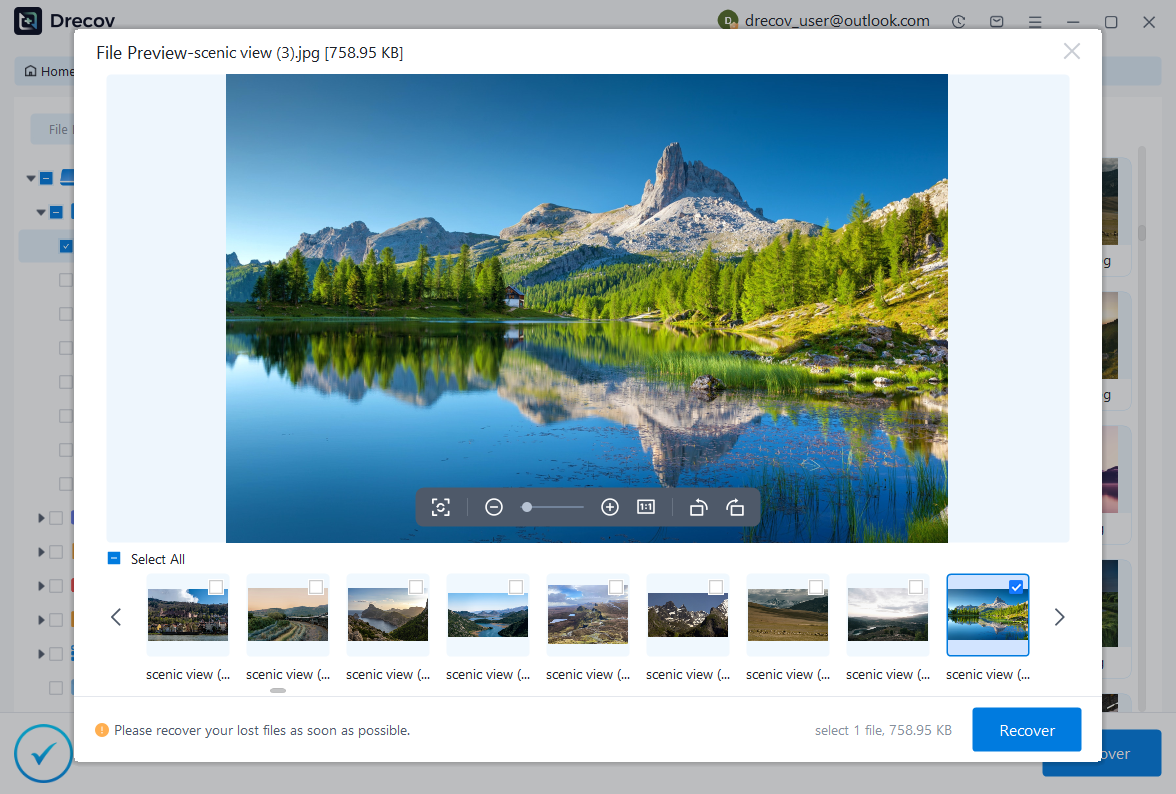
- Preview representative files instead of trusting filenames alone.
- Recover selected files to another healthy disk and verify them before repair or reinstallation.
Common Failure Patterns
Boot Media Is Not Listed
Try a direct port, recreate the media, confirm UEFI compatibility, and check whether firmware security permits external startup. Avoid disabling protections permanently; restore the original setting after testing.
Boot Device Not Found
If firmware does not detect the internal disk, software boot repair cannot solve the connection or hardware fault. If the disk is detected, check boot order and recovery options before rebuilding boot files.
Repair Loops Or Freezes
Repeated automatic repair can keep writing logs and metadata. Stop when the disk becomes slower or less stable, preserve data, and diagnose storage health from a controlled environment.
Installer Offers Only Erase Or Clean Install
Exit unless a verified backup exists. Installation media is also a recovery entry point; booting it does not require accepting a destructive installation.
Final Verification Checklist
- Correct disk is detected consistently by model and capacity.
- Original firmware and security settings are documented.
- Boot media was created from an official source on a blank target.
- Important files exist on separate verified storage.
- System starts twice without the temporary media.
- Encryption recovery keys remain available.
- No source disk was initialized, formatted, or overwritten during diagnosis.
Conclusion
Bootable Disk: Safe Fixes Without Losing Data is safest when boot diagnosis and data protection are treated as separate tasks. Identify the exact device, preserve files before destructive repair, use official recovery media, and change only one reversible setting or repair at a time.






