


Imagine this: You’ve just finished a grueling week of data collection. Your USB drive is packed with the final reports, high-resolution images, and critical spreadsheets. To clean up some old drafts, you highlight a folder and hit Shift + Delete to bypass the Recycle Bin. A split second later, your heart drops. You realized you didn’t select the “Drafts” folder—you selected the “Final Delivery” folder. If you are currently staring at an empty folder wondering how can i recover shift deleted files, you aren’t alone. Many users face this panic, but learning how to recover files deleted with shift delete is easier than it seems, and it is entirely possible to recover file after shift delete errors with the right approach.
In this guide, we will dive deep into the mechanics of USB storage and explore the most effective ways to recover files deleted with shift delete.
The Ghost in the Machine: How Data Recovery Actually Works
To understand how to recover file after shift delete actions, we first need to understand what happens when you press those keys.
Think of your USB drive like a massive library. When you save a file, the “Librarian” (the File System, like FAT32 or NTFS) writes the book (your data) onto a shelf and records its location in a “Grand Index.”
When you perform a standard deletion, the Librarian moves the book to a “Holding Area” (the Recycle Bin). But when you recover files deleted with shift delete, you are dealing with a situation where the Librarian simply goes to the Grand Index and erases the entry for that book. The book is still sitting on the shelf, but the Librarian marks that shelf space as “Empty and Available.”
As long as you don’t walk back into the library and put a new book on that exact same shelf, the old data remains perfectly intact. This is why the #1 rule of data recovery is: Stop using the drive immediately. If you keep saving new files, you will overwrite the “invisible” data, making it impossible to recover files deleted with shift delete.
Common USB Data Loss Scenarios
While Shift+Delete is a primary culprit, you might also lose data due to:
- Improper Ejection: Pulling the USB out while data is being written.
- File System Corruption: The “Grand Index” gets scrambled.
- Virus Attacks: Malware hiding or deleting files.
- Formatting: Wiping the entire index at once.
How Can I Recover Shift Deleted Files? Proven Methods
If you act quickly, your chances of success are incredibly high. Below are the most effective methods to recover files deleted with shift delete, ranked from user-friendly software solutions to technical system deep-dives.
Method 1: Checking for Hidden Backups (Previous Versions)
Before jumping into software, check if Windows has a cached version of your folder.
- Step 1: Connect your USB drive to your computer.
- Step 2: Navigate to the folder that originally contained the deleted files.
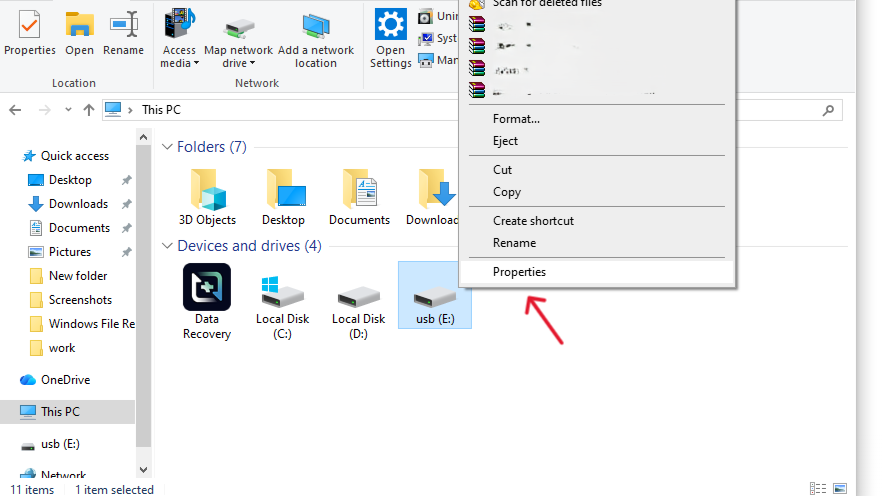
- Step 3: Right-click the folder and select Properties.
- Step 4: Click on the Previous Versions tab.
- Step 5: If a list appears, select a version dated before the deletion and click Restore.
Note: This method only works if you had “File History” or System Protection turned on for that drive, which is rare for external USBs but always worth a check.
Method 2: Using PandaOffice Drecov
When system tools fail, professional-grade software is the most reliable way to recover files deleted with shift delete. PandaOffice Drecov is specifically designed to bypass the operating system’s limitations and scan the “shelves” of your USB drive directly.
Why choose PandaOffice Drecov?
It features a deep-scan algorithm that reconstructs file headers even if the index is completely gone. It supports over 1,000 file types, including DOCX, JPG, and MP4.
Never install recovery software on the USB drive you are trying to fix!
- Step 1: Select the Source. Launch the program. Under the “External Devices” section, select your USB drive.

- Step 2: Initiation of Scan. Click the Start button. The software will begin a “Quick Scan” followed by a “Deep Scan” to find every trace of the recover files deleted with shift delete operation.

- Step 3: Filter and Preview. Once the scan is complete, use the sidebar to filter by “Deleted Files.” You can double-click images or documents to preview them before recovery.

- Step 4: Execute Recovery. Select the files you need and click Recover. Choose a save location on your computer’s hard drive (not the USB) to prevent overwriting.
Method 3: Windows File Recovery (Command Line)
For those who are comfortable with a bit of coding, Microsoft offers a free command-line utility.
- Step 1: Download “Windows File Recovery” from the Microsoft Store.
- Step 2: Open the app, which launches a Command Prompt.
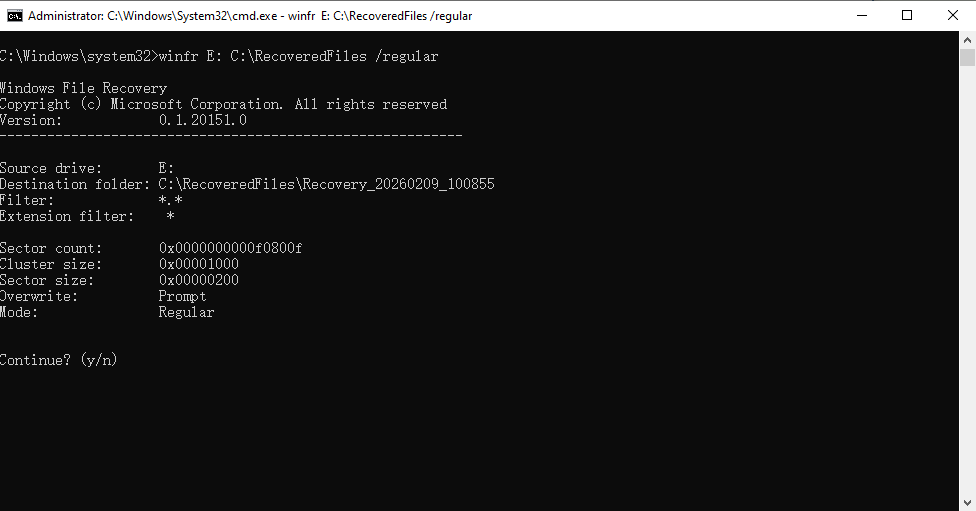
- Step 3: Use the following syntax:
winfr source-drive: destination-folder: /regularExample:winfr E: C:\RecoveredFiles /regular - Step 4: Follow the prompts to allow the tool to search for the deleted segments.
Warning: This tool is powerful but lacks a “Preview” function, meaning you might recover thousands of junk files along with the one you actually need.
Method 4: Recovering via Windows Backup and Restore (Windows 7 Mode)
Even on Windows 11, many users still have the old-school backup utility running.
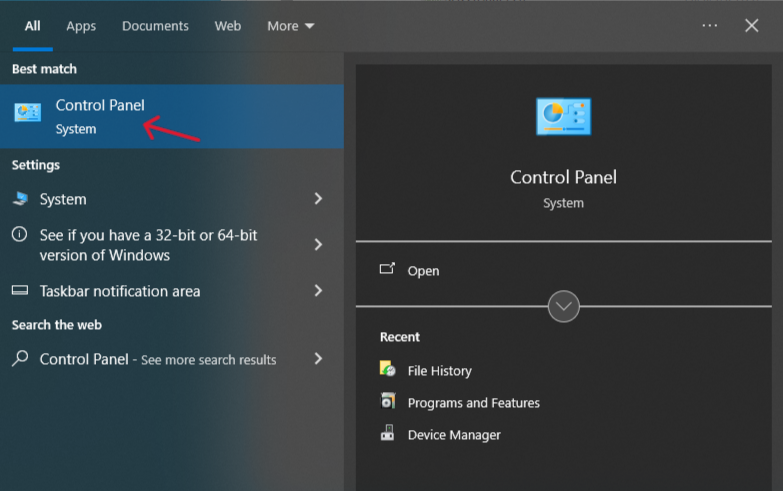
- Step 1: Open the Control Panel.
- Step 2: Go to System and Security > Backup and Restore (Windows 7).
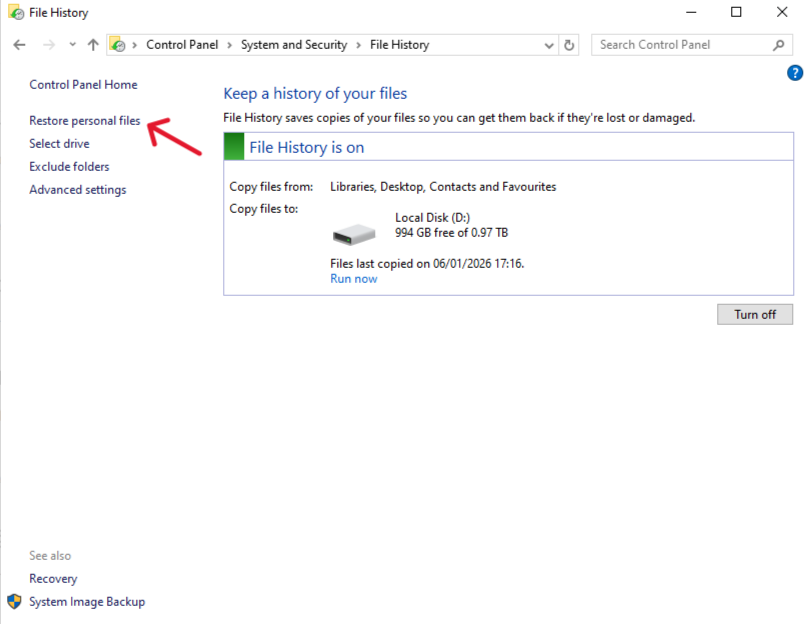
- Step 3: Click Restore personal files and follow the wizard to browse your USB’s backup history.
Comparing Recovery Methods
To help you decide which path to take to recover files deleted with shift delete, here is a comparison of the top strategies:
| Method | Ease of Use | Success Rate | Best For |
| Previous Versions | Easy | Low | Occasional system-tracked files |
| PandaOffice Drecov | Very Easy | Very High | All file types, corrupted drives, and deep recovery |
| Windows File Recovery | Hard | Medium | Technical users comfortable with CLI |
| Windows Backup | Medium | Medium | Users with a strict backup routine |
The PandaOffice Advantage: Unlike manual methods or basic command tools, PandaOffice Drecov provides a visual interface that allows you to see exactly what is salvageable. It minimizes the risk of further data damage by using a read-only scanning process.
Proactive Protection: How to Prevent Data Loss
The best way to recover files deleted with shift delete is to never have to do it at all. Follow these steps to safeguard your USB data:
- Enable File History: In Windows Settings, add your USB drive to the “File History” backup list so a copy is made every time it’s plugged in.
- Use the “Cloud Mirror” Strategy: Keep your active working files in a synced folder (like OneDrive or Dropbox) that targets your USB.
- The “Safety Prompt” Hack: Go to your Recycle Bin properties and ensure “Display delete confirmation dialog” is checked. This adds a “Are you sure?” barrier to the Shift+Delete command.
- Hardware Health Checks: Periodically run
chkdskon your USB to ensure the file system is healthy.
How to bring back shift deleted files FAQs
Can I recover files if the USB was formatted after Shift+Delete?
Yes. A “Quick Format” only clears the index, much like a Shift+Delete command does. Tools like PandaOffice Drecov can still find the data. However, a “Full Format” (which writes zeros to the drive) makes recovery impossible.
Is there a time limit to recover files deleted with shift delete?
There is no “time” limit, but there is a “usage” limit. If you delete a file today and leave the USB in a drawer for a year, the data will be there. If you delete a file and then save 5GB of movies to that USB, the data is likely gone forever.
Does Shift+Delete work differently on an SSD-based USB?
Yes. If your USB uses a modern SSD controller with “TRIM” enabled, the drive might proactively wipe the “empty” space. In these cases, you must attempt to recover file after shift delete immediately.
Conclusion
Losing data to a accidental keystroke is a stressful experience, but it doesn’t have to be permanent. Whether you choose to use built-in Windows features or a specialized tool like PandaOffice Drecov, the key is to act fast and avoid writing new data to the drive. By understanding that your files are merely “hidden” rather than “erased,” you can approach the recovery process with confidence.


