






Photo Recovery
This guide explains effective photo recovery methods for restoring deleted or lost images from computers, SD cards, and mobile devices, including practical steps and tips to improve recovery success.
TOP 4 Hot Articles
Top 4 hot articles will provide you reliable solutions to find crucial data with Drecov software.
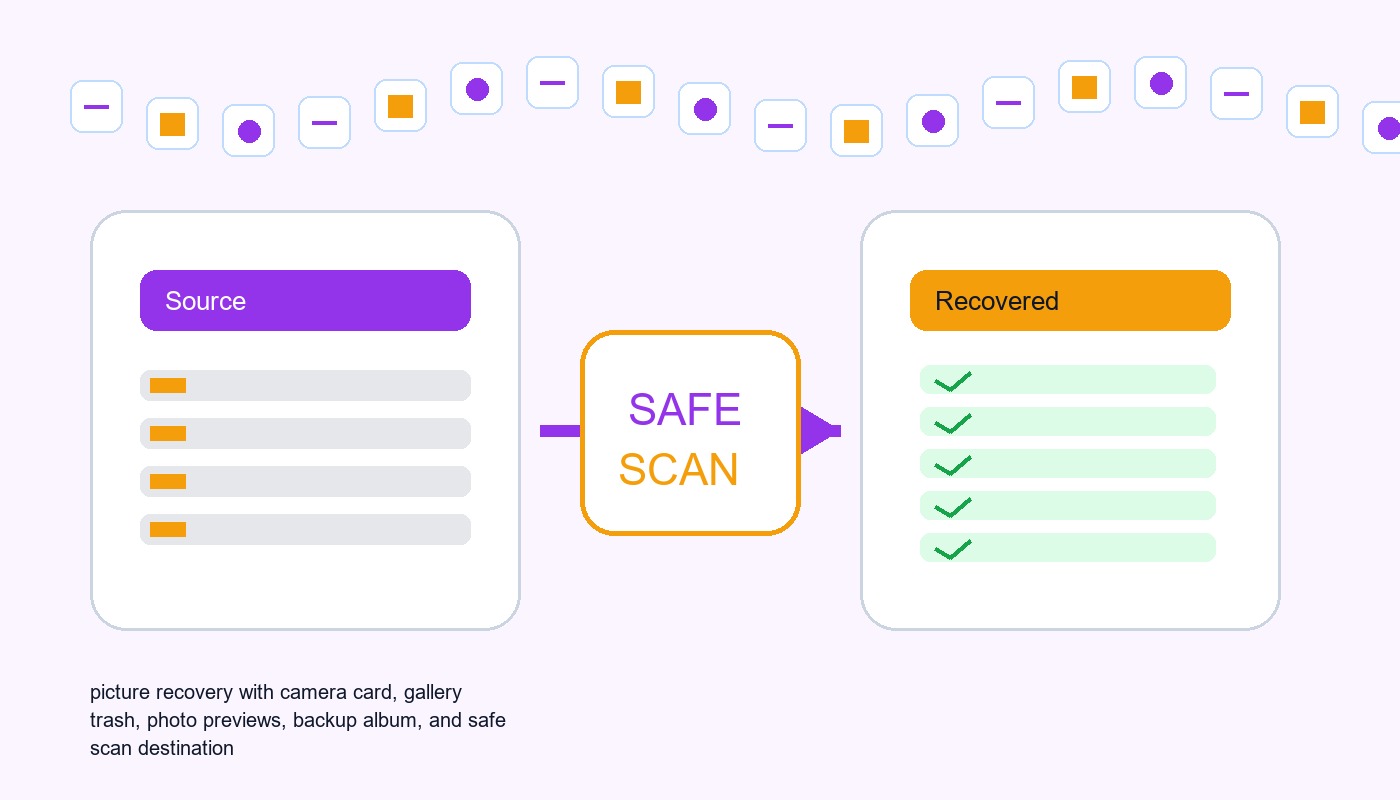

Pictures Data Recovery Software: Recover Photos Without Damaging The Source
This guide explains when pictures data recovery software can work, what built-in recovery paths to check first, and how to scan readable local storage safely.
Find a solution that suits your case
Here are file recovery guidelines for all types of files. Just choose the most suitable situation for you to retrieve your data


Camera Photos Missing After USB Transfer: Recover Safely
Read more →: Camera Photos Missing After USB Transfer: Recover SafelyStop taking new photos and do not delete from the camera or card. Check the destination folder, import history and Recycle Bin, inspect the memory card directly with a reader, copy every readable file, then recover missing originals to a separate disk.

Mac Photos Library Missing After a macOS Update
Read more →: Mac Photos Library Missing After a macOS UpdateDo not create a new Photos Library with the same name over the old location. Hold Option while opening Photos, search Pictures and external drives for .photoslibrary bundles, check iCloud Photos and Time Machine, copy the library before repair, and select the recovered copy as the system library only after verification.
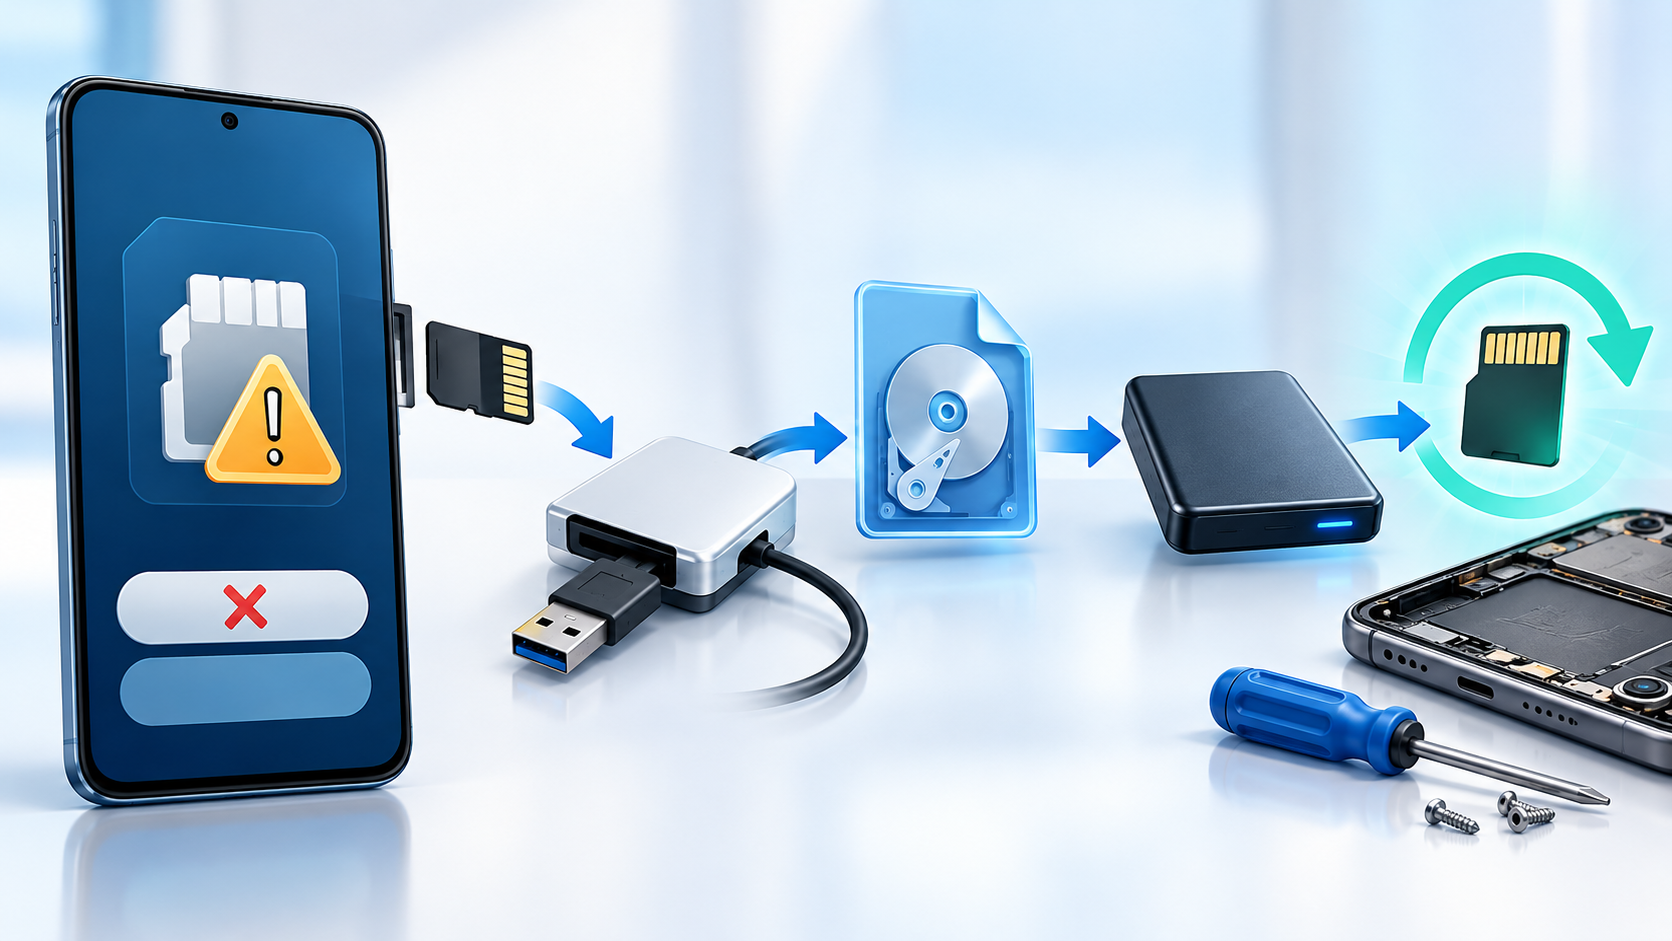
Android Phone Asks to Format the SD Card: Recover First
Read more →: Android Phone Asks to Format the SD Card: Recover FirstCancel the format prompt and power off the phone before repeated retries. Remove the card if supported, use a reliable reader on a computer, copy readable files, check whether the card is encrypted or adopted as internal storage, create an image if stable, and recover to another disk before formatting.
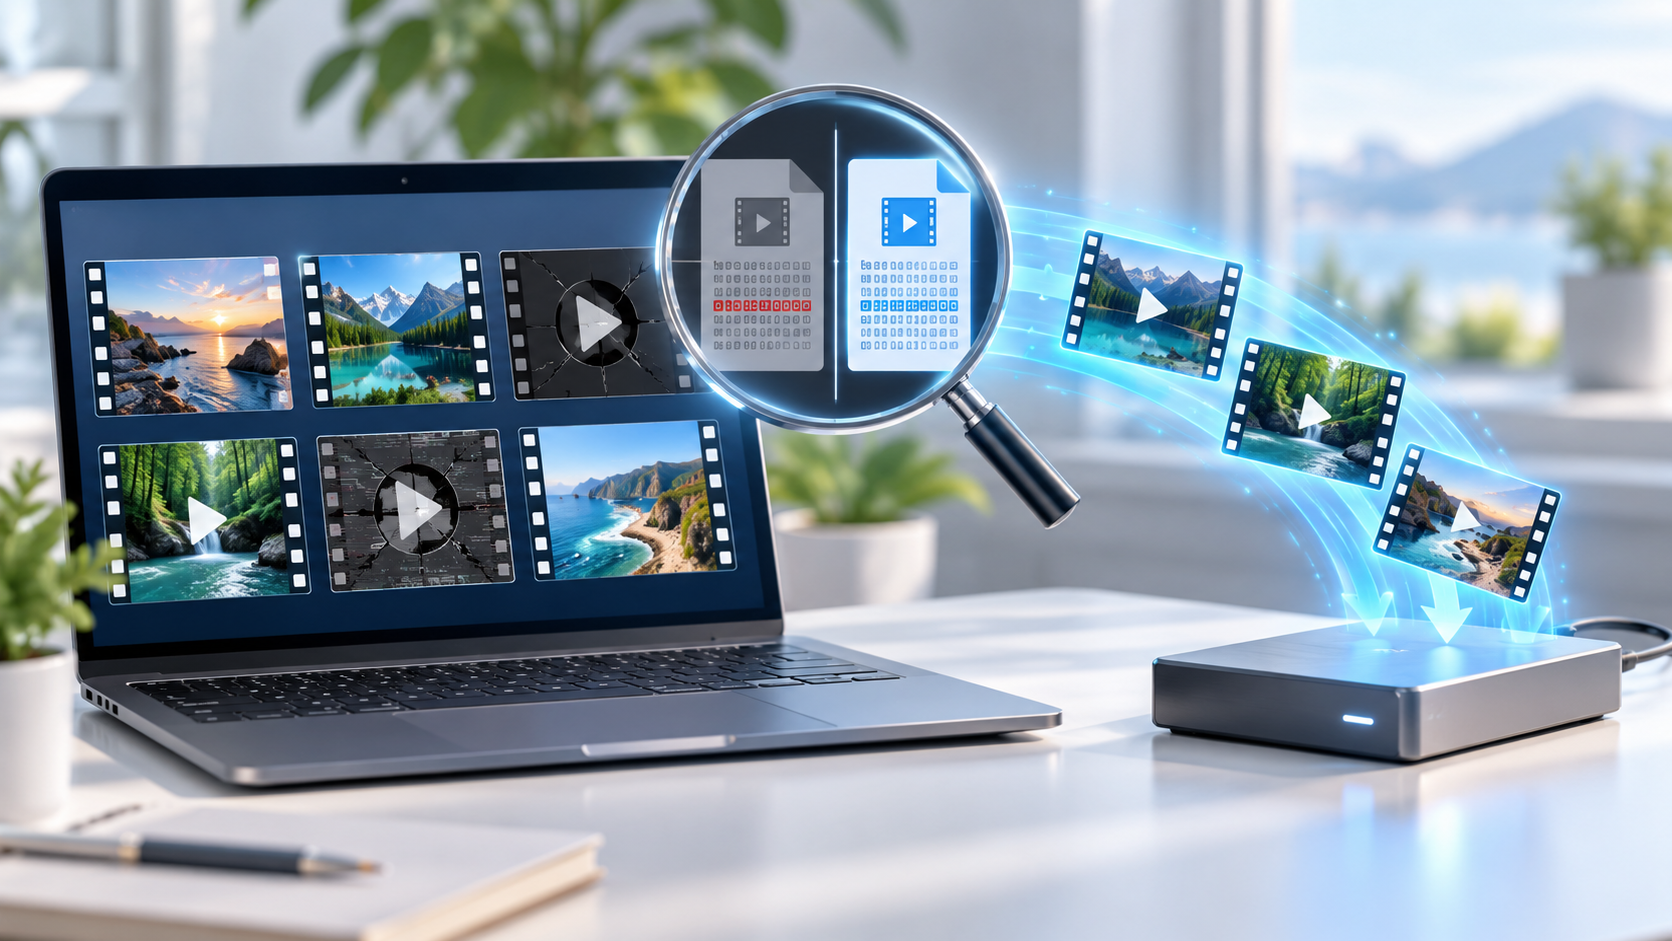
Recovered Video Files Wonʼt Play: Find Intact Copies
Read more →: Recovered Video Files Wonʼt Play: Find Intact CopiesA recovered video name and extension do not prove the stream is complete. Keep the source unchanged, compare file size and headers, try a trusted player, search for alternate camera or backup copies, and repair only a duplicate after recovering the best original.
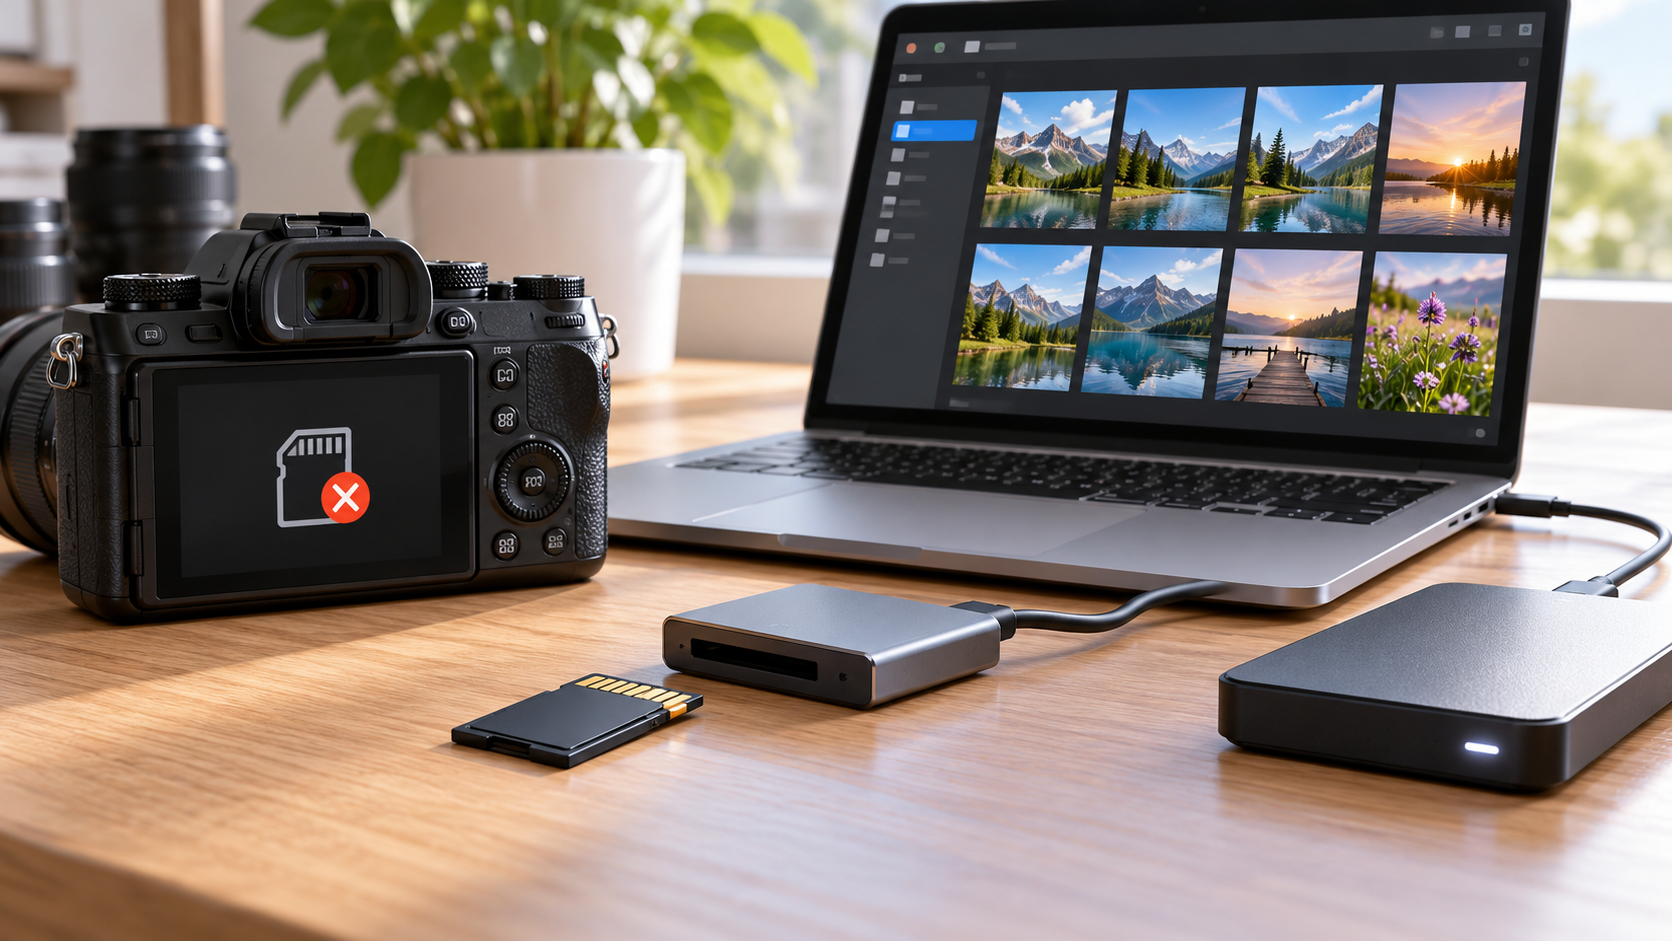
SD Card Detected on Computer but Not Camera: Protect Photos
Read more →: SD Card Detected on Computer but Not Camera: Protect PhotosIf the computer reads the SD card, copy every photo before troubleshooting the camera. Confirm the camera supports the card capacity and file system, inspect the lock tab and contacts, test one known-good card, and format in the camera only after two verified backups exist.
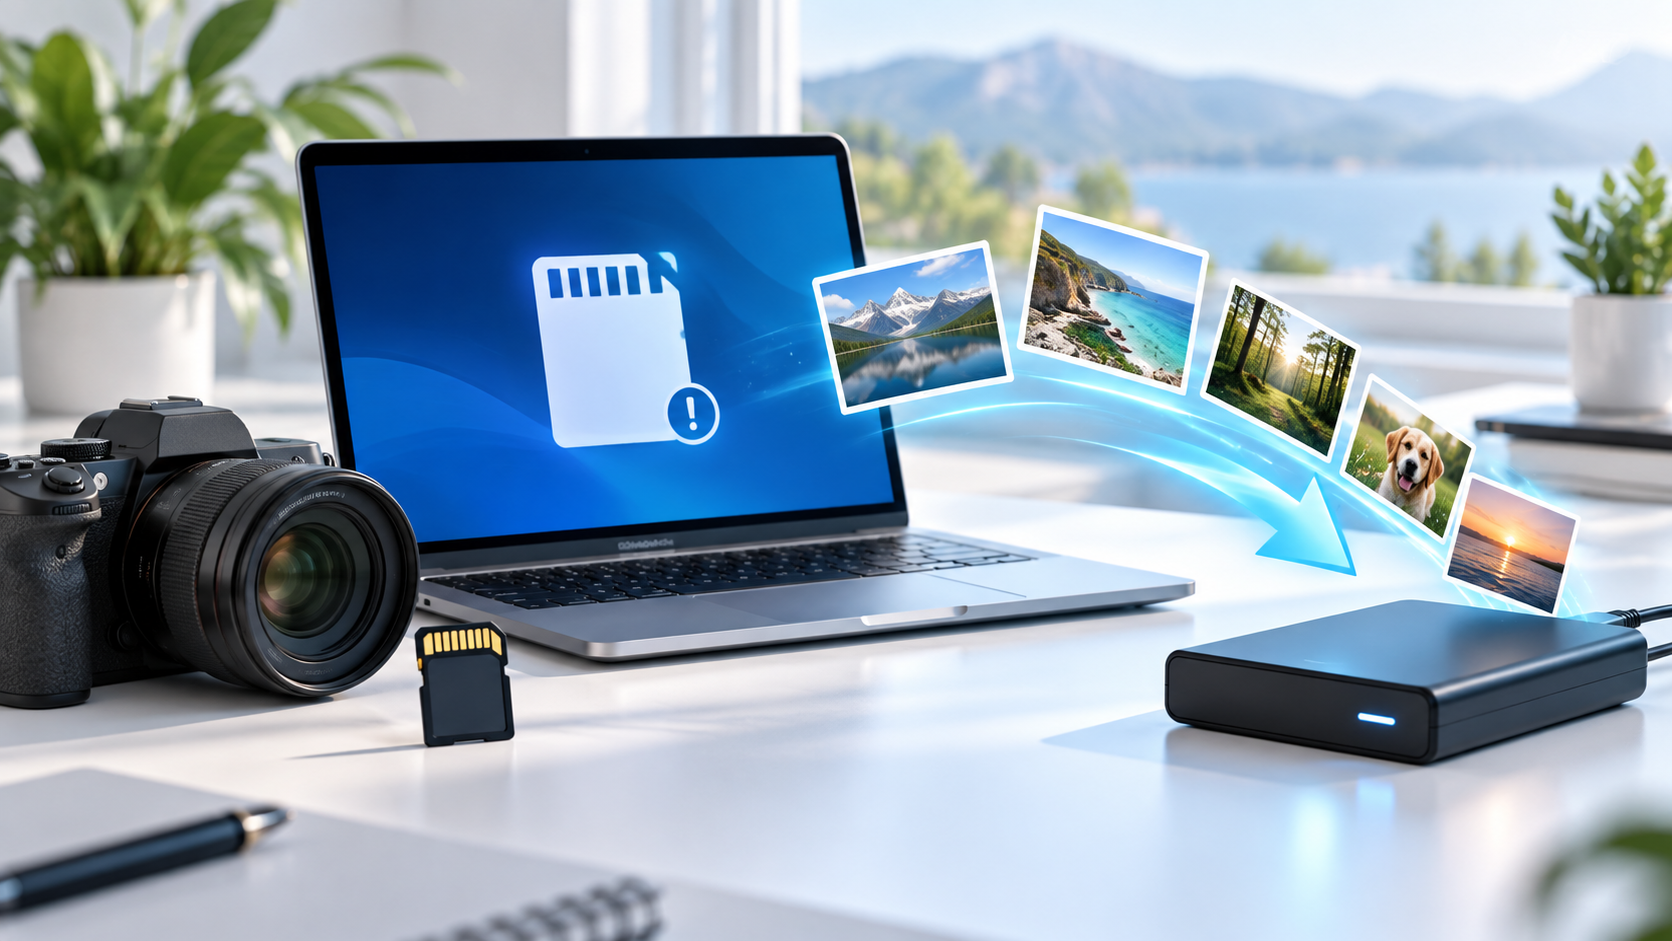
Recover Photos From an Accidentally Formatted SD Card
Read more →: Recover Photos From an Accidentally Formatted SD CardStop using the card immediately after accidental formatting and do not format it again. Remove it from the camera, use a trusted reader, create an image when possible, scan the image or card read-only, and restore photos to another drive before testing the card.

Recovered Photos Wonʼt Open: Find Healthy Originals
Read more →: Recovered Photos Wonʼt Open: Find Healthy OriginalsA recovered filename does not prove the photo data is intact. Keep the source unchanged, compare file size, extension and header, try another trusted viewer, search for alternate copies and thumbnails, and repair only a duplicate after the best original is recovered.
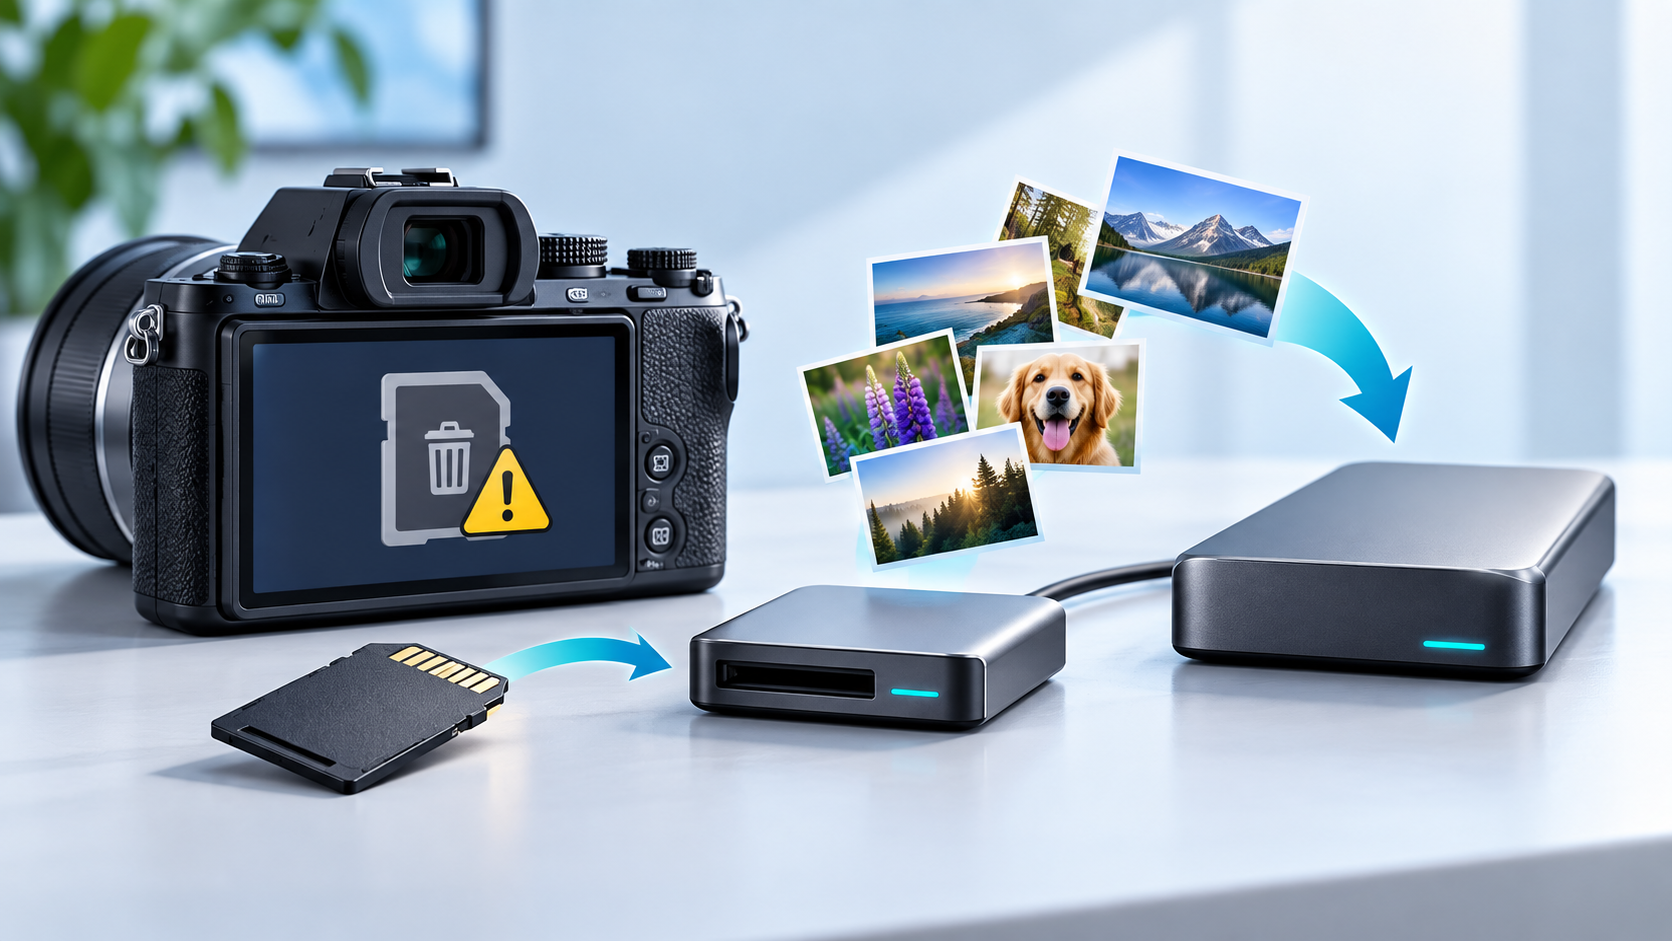
Camera Asks to Format the Memory Card: Recover Photos First
Read more →: Camera Asks to Format the Memory Card: Recover Photos FirstDo not accept the camera format prompt and stop taking photos. Remove the card, use a trusted card reader, verify its reported capacity, make an image when practical, and recover photos to another disk. Reformat in the camera only after two verified copies exist.
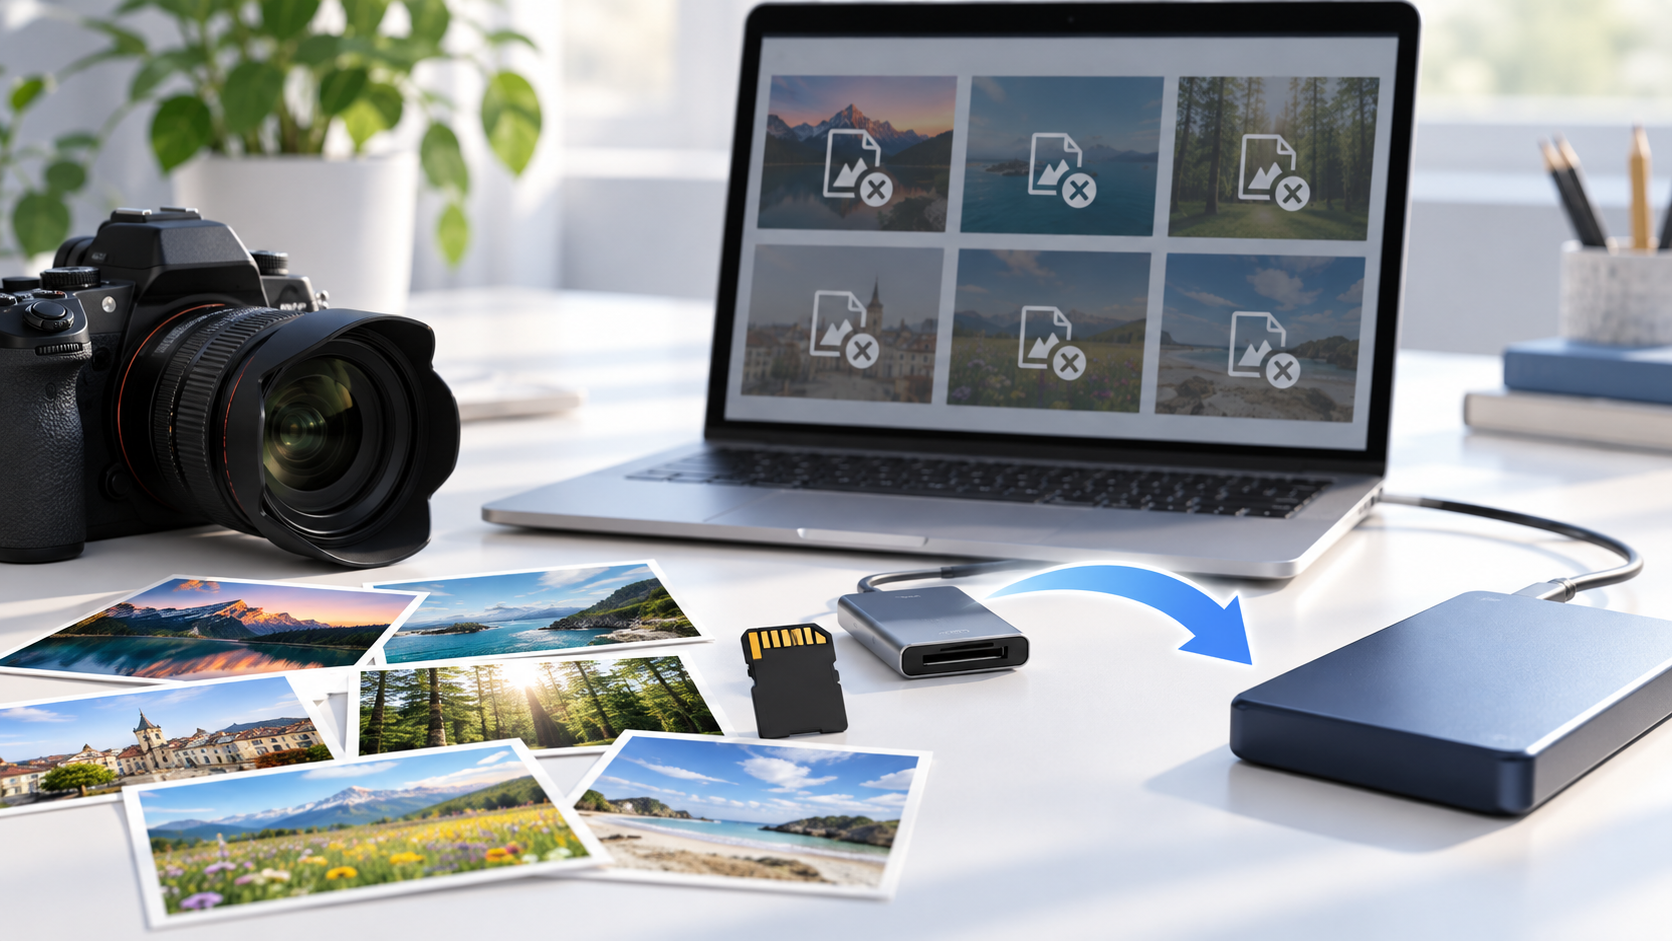
SD Card Photos Show Unsupported Format: Recover Originals
Read more →: SD Card Photos Show Unsupported Format: Recover OriginalsPreserve the original card and do not batch-convert the only photos. Test a trusted viewer and copy to a separate folder, compare extensions and headers, then restore alternate copies from the card or backup. Repair only duplicates after recovery.
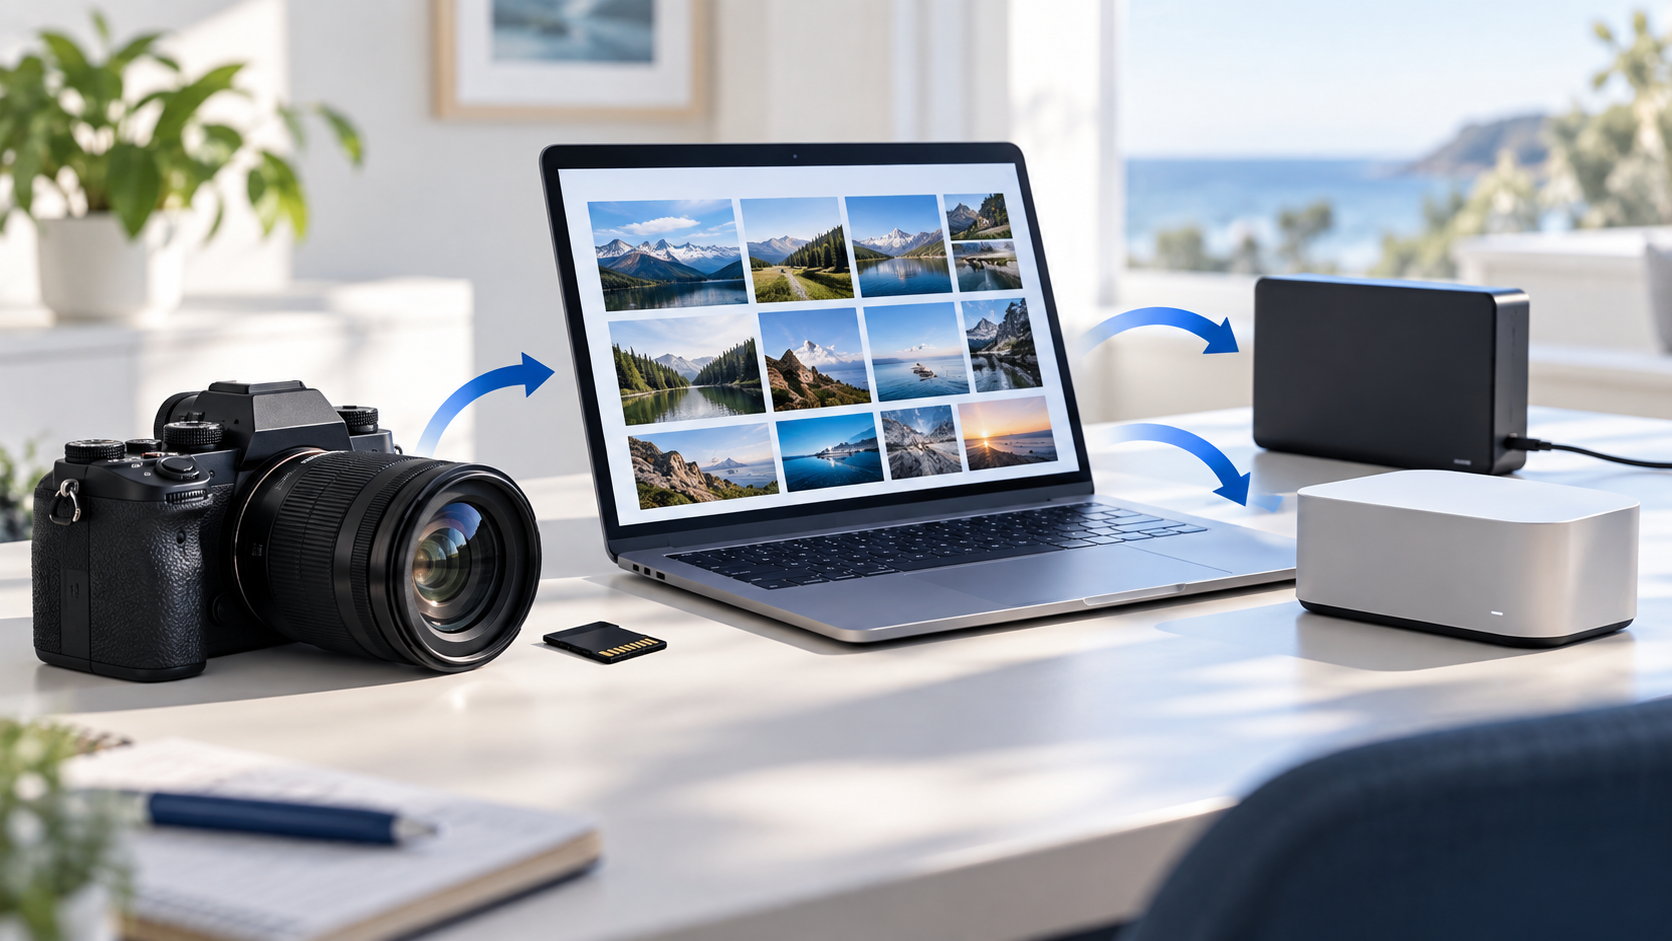
Photos Missing After Camera Import: Find the Originals
Read more →: Photos Missing After Camera Import: Find the OriginalsDo not erase the card or let the import application delete originals automatically. Check the destination folder, Recently Imported, duplicates, cloud sync, camera card and Recycle Bin. Compare file counts and timestamps, then copy originals to a separate verified folder.




Copyright © 2025 PandaOffice. All Rights Reserved. The order process, tax issue, and invoicing to end users are conducted by PandaOffice Limited.