


Introduction
Losing important files from a USB flash drive can be frustrating, especially when the device suddenly becomes corrupted, formatted, or files are accidentally deleted. Fortunately, professional data recovery tools like Pandaoffice Drecov make it possible to restore lost USB files safely and efficiently.
This guide provides a detailed, step-by-step tutorial on how to use Pandaoffice Drecov to recover deleted or lost files from a USB drive. Whether you need to restore Word documents, Excel spreadsheets, PDFs, pictures, videos, or PowerPoint files, this article will walk you through the entire recovery process.
Step 1: Download Pandaoffice Drecov and Select the USB
First, download and install Pandaoffice Drecov on your computer.
After installation:
- Insert your USB flash drive into the computer.
- Launch Pandaoffice Drecov.
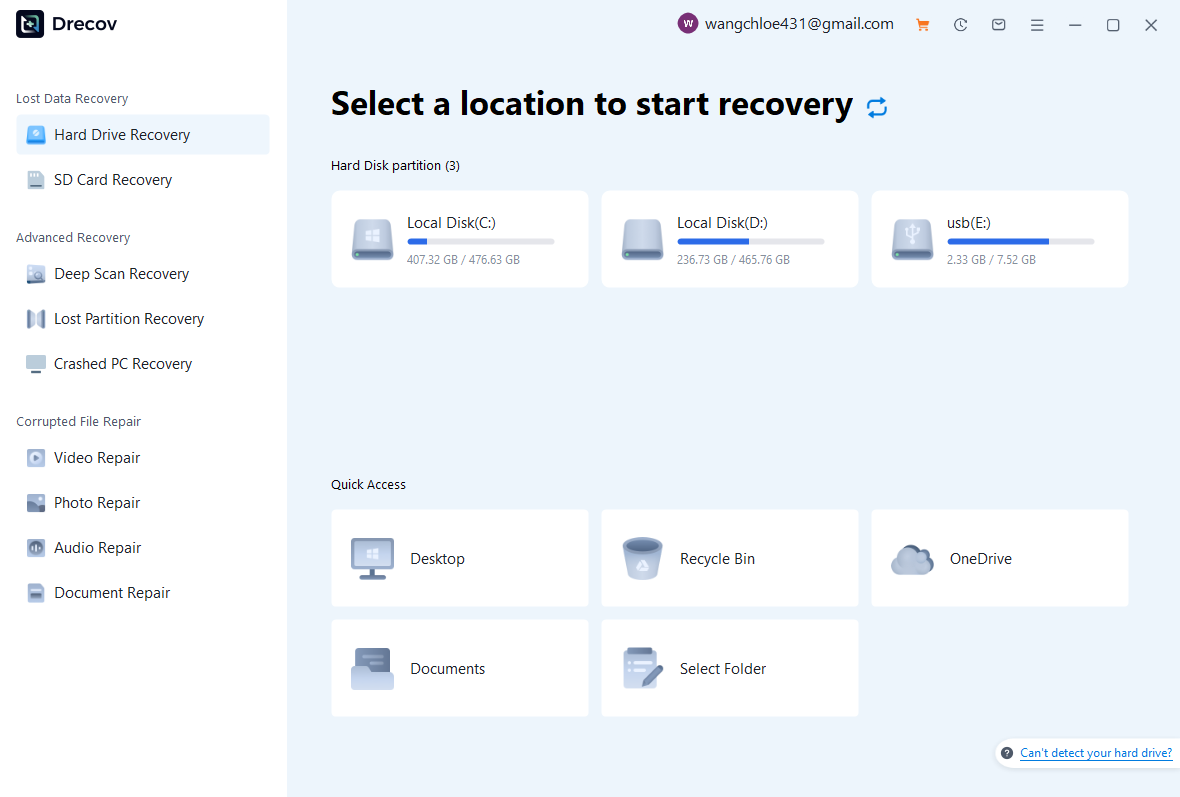
- On the main interface, you will see a list of available storage devices.
- Locate and select the inserted USB drive.
- Click the flash drive to begin the sanning process.
Step 2: Start Scanning the USB
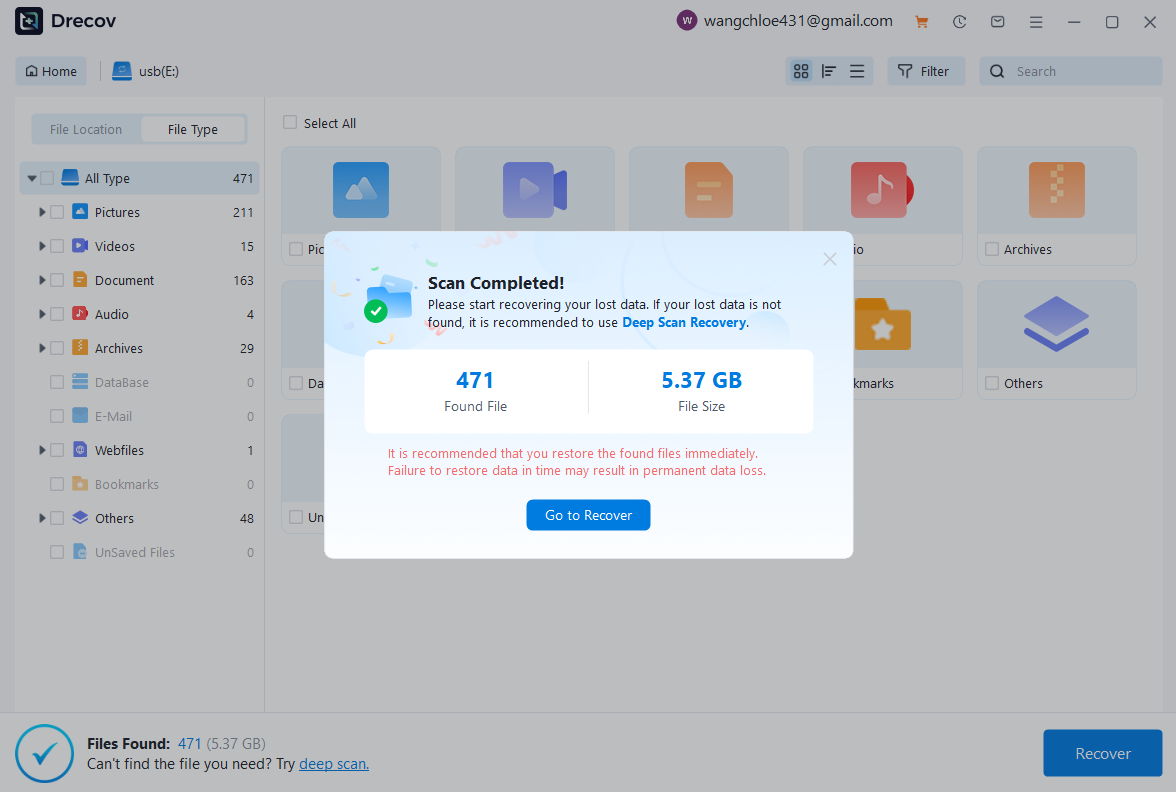
- Once you click the flash drive, Pandaoffice Drecov will enter the scanning interface.
- A pop-up window will appear to remind you that the scanning process is complete after the scan is finished.
- The pop-up window will show how many files were found and their total size. Click “Go to Recover” to view and preview the files.
- If you can’t find the files you’re looking for, simply select Deep Scan Recovery to search more thoroughly.
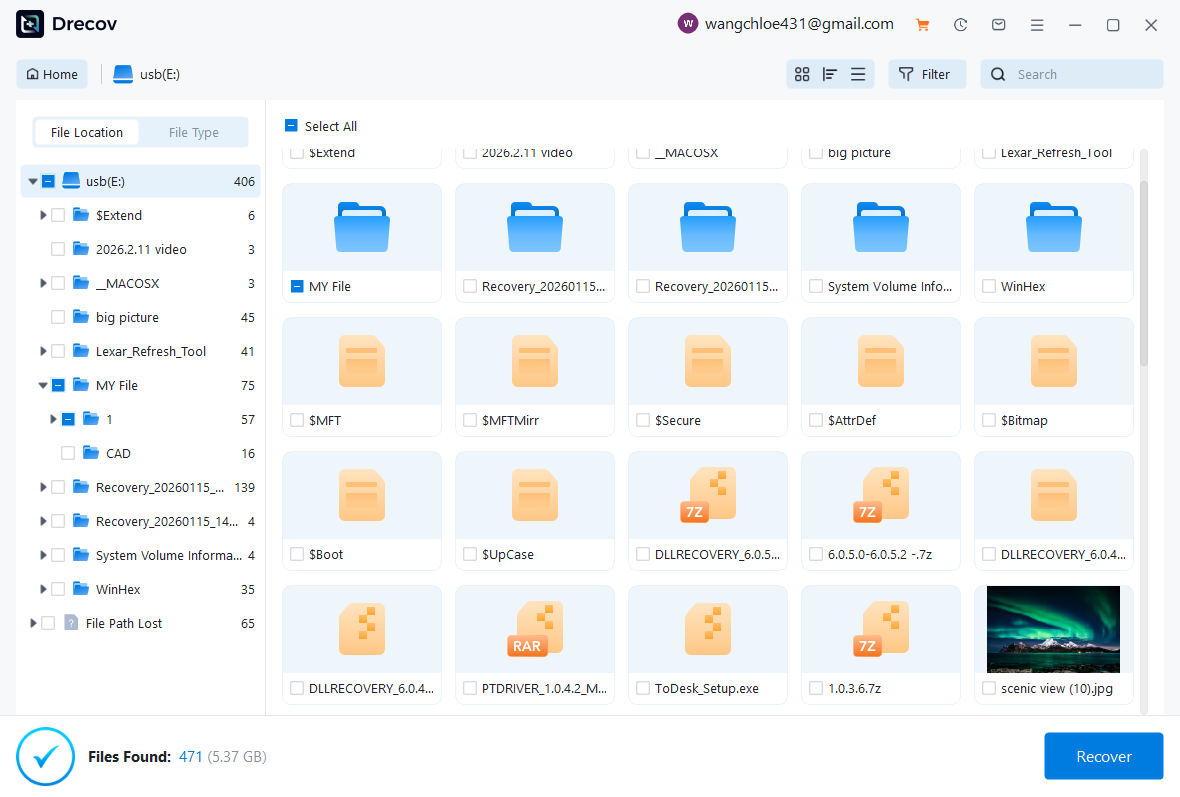
Step 3: Browse and Preview Files Found on the USB
After scanning finishes, Pandaoffice Drecov will display all recoverable files stored on the USB drive. You can find your file using File Location to search where it was saved, or use File Type to search by the kind of file, such as Word, Excel, or pictures.
File Location is uaually organized by:
File Type is usually organized by:
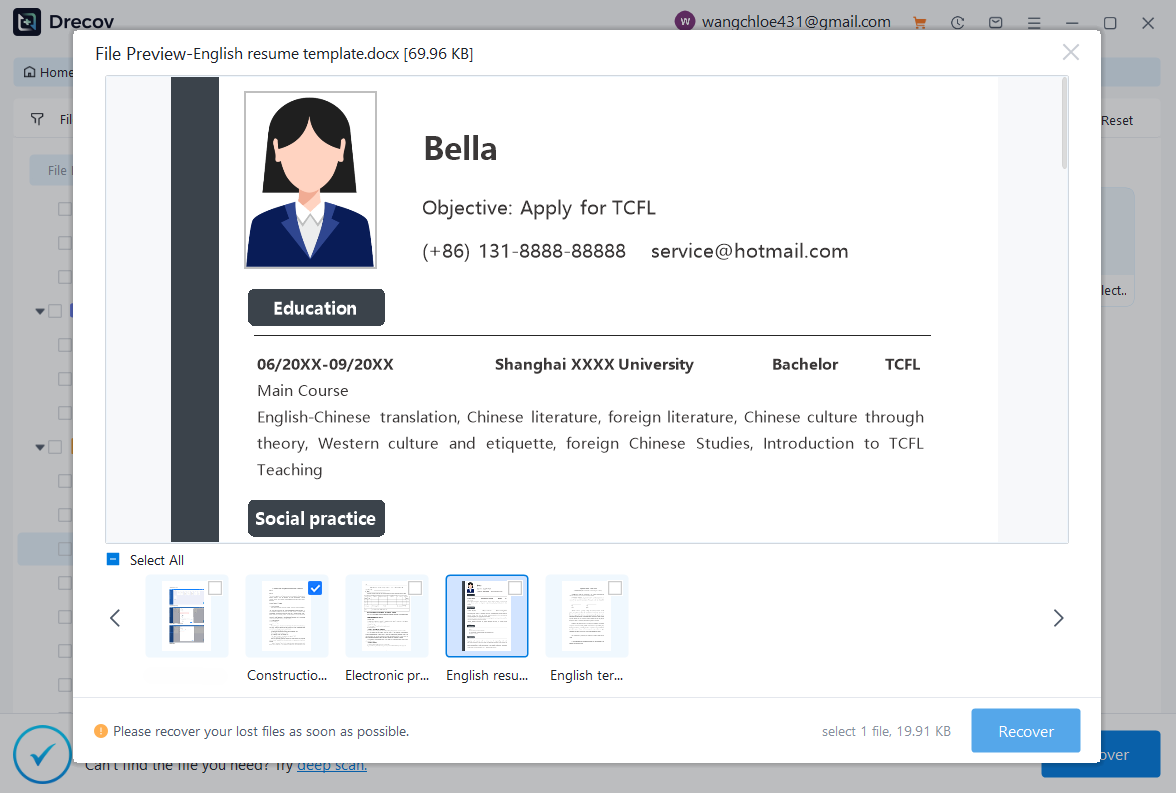
3.1 Browse Lost Word Documents
To find lost Word documents:
- Click on the “Documents” category.
- Filter by .doc or .docx format.
- Preview the document before recovery to confirm integrity.
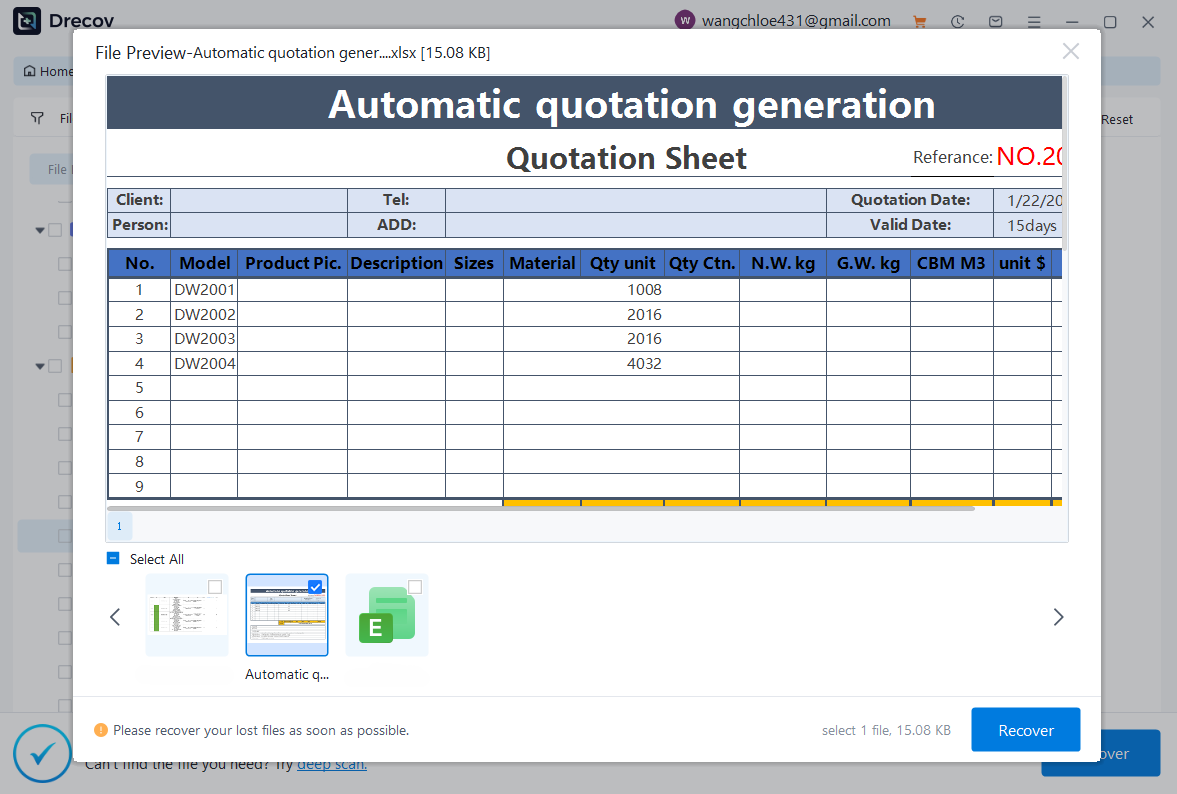
3.2 Browse Lost Excel Files
To recover Excel spreadsheets:
- Navigate to the “Documents” section.
- Filter by .xls or .xlsx files.
- Preview the spreadsheet to verify data accuracy.
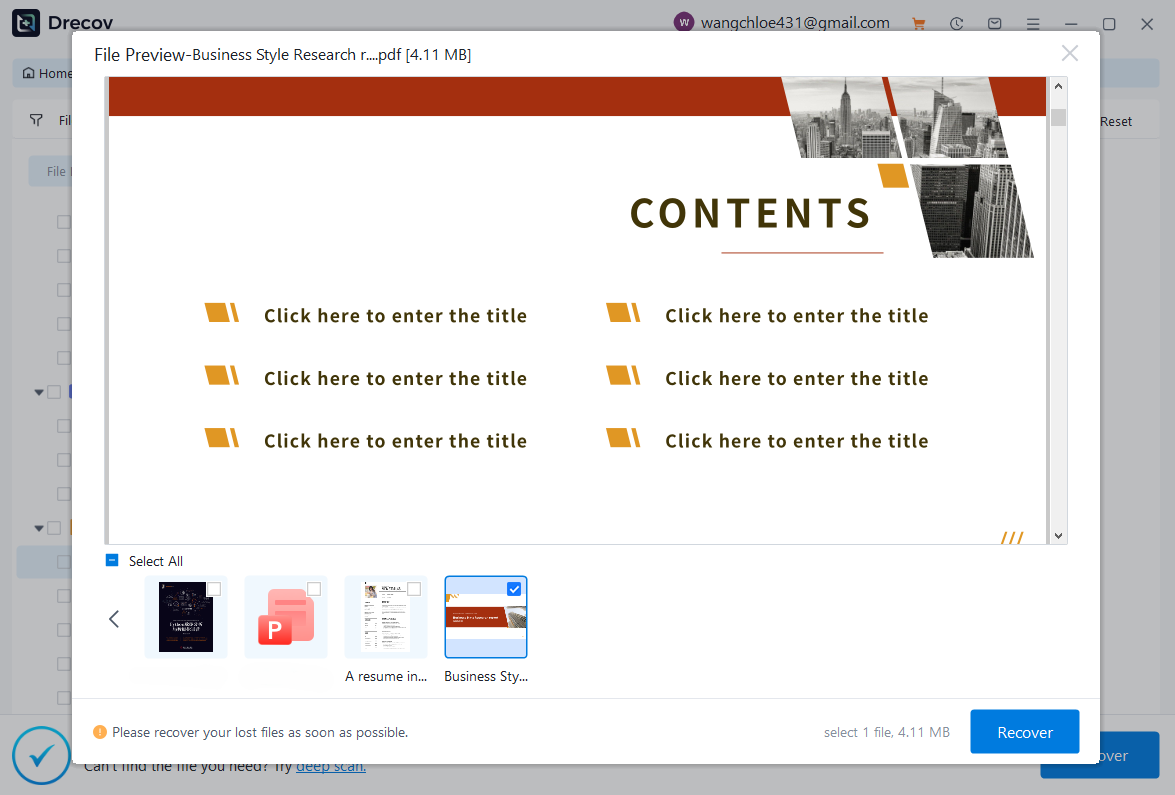
3.3 Browse Lost PDF Files
For PDF recovery:
- Select the “Documents” category.
- Filter by .pdf format.
- Use preview mode to ensure the file opens correctly.
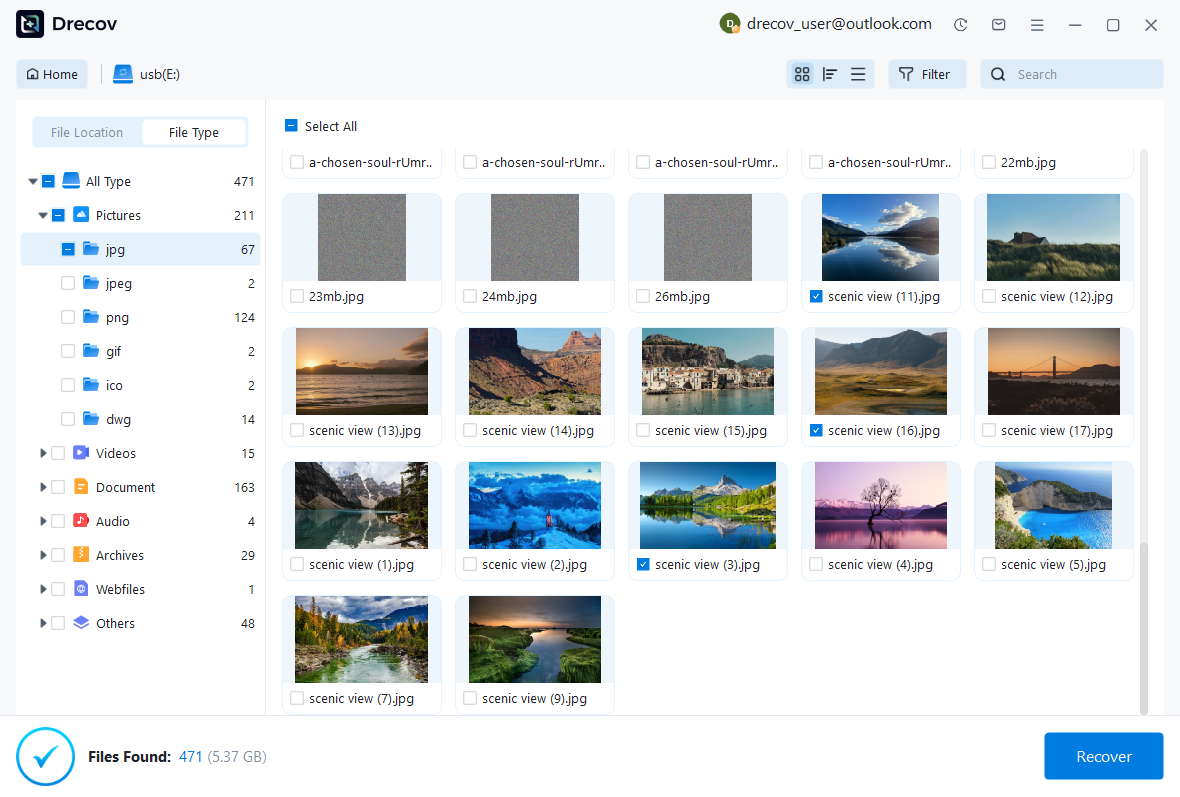
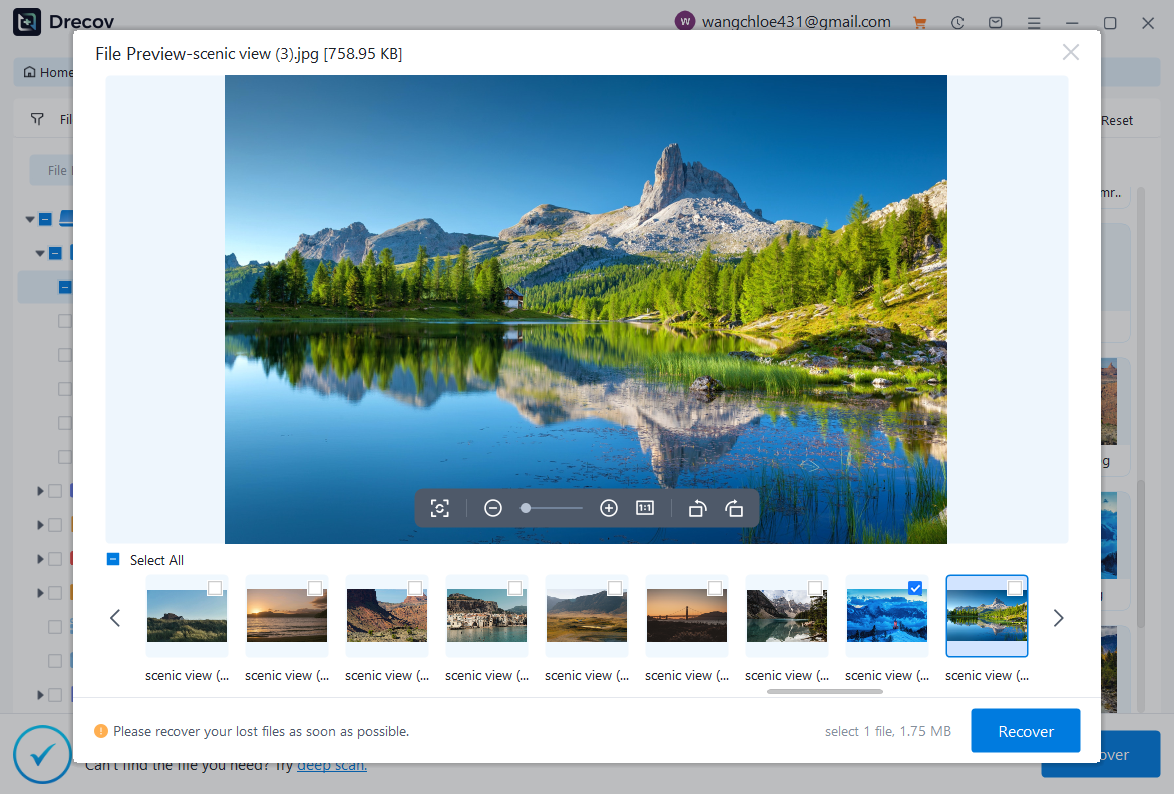
3.4 Browse Lost Pictures
To recover deleted images:
- Go to the “Pictures” or “Graphics” section.
- Filter by formats such as .jpg, .png, or .jpeg.
- Preview thumbnails to quickly identify your photos.
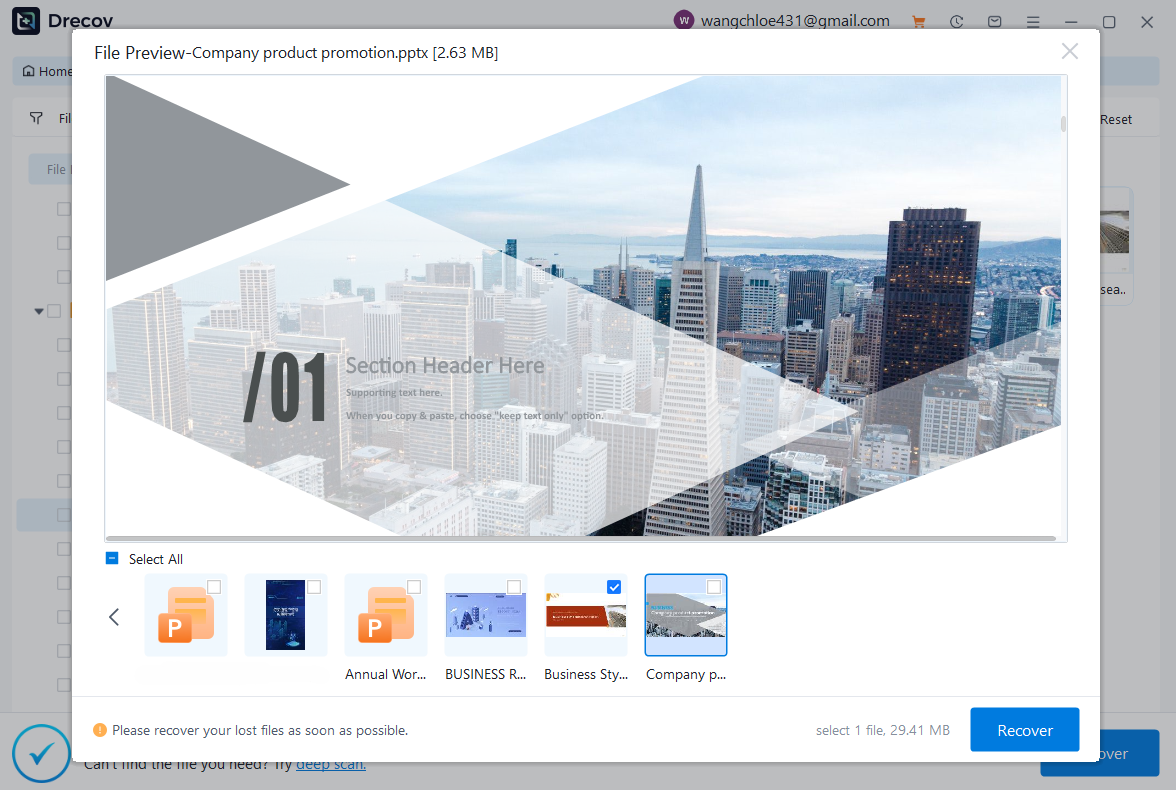
3.5 Browse Lost PowerPoint Files
For recovering presentation files:
- Navigate to the “Documents” category.
- Filter by .ppt or .pptx files.
- Preview slides to confirm they are complete.
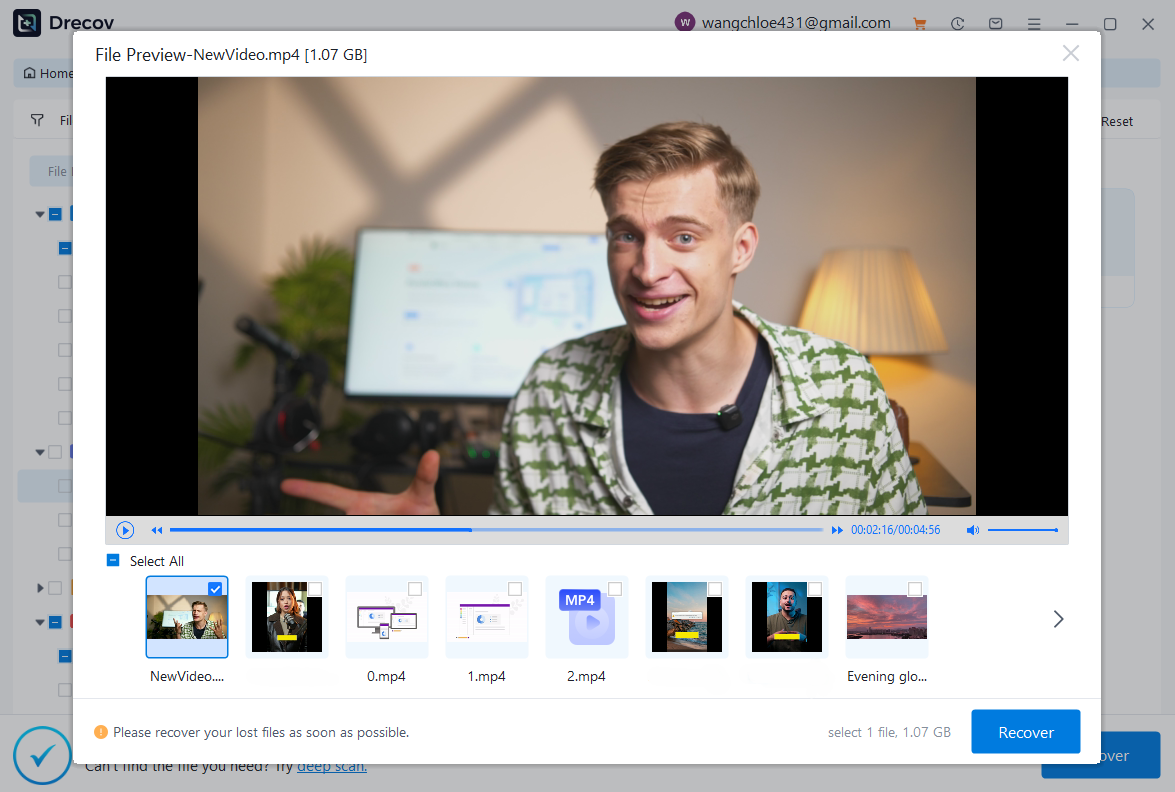
3.6 Browse Lost Videos
If you need to recover videos:
- Go to the “Videos” category.
- Filter by formats like .mp4, .mov, or .avi.
- Preview the video if supported.
Step 4: Recover the Selected Files
Once you have identified the files you want to restore:
- Select the checkboxes next to the desired files.
- Click the “Recover” button.
- Choose a safe location on your computer’s internal drive. Select the path to save the data.
- Files recovery completed!
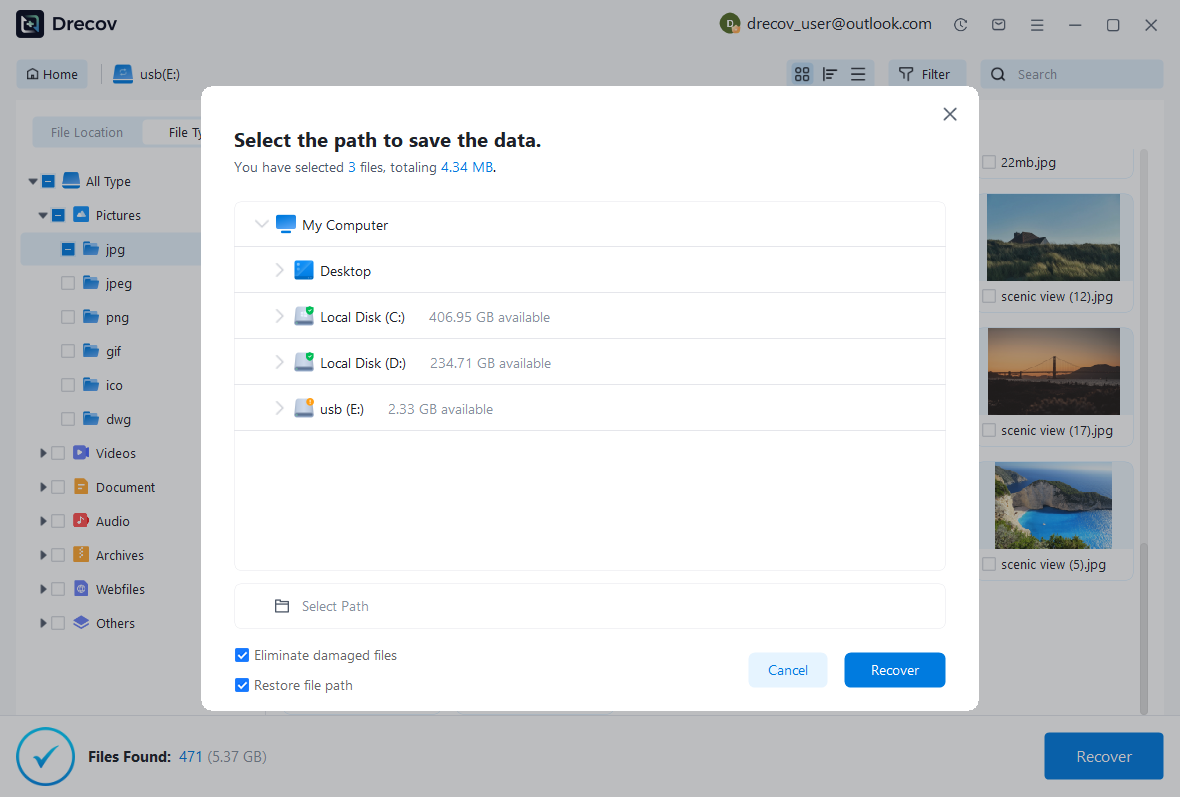

⚠️ Do not save recovered files back to the same USB drive immediately. This may overwrite other recoverable data.
After recovery is complete, verify the files by opening them from the saved location.
Conclusion
Recovering files from a USB drive is straightforward when using Pandaoffice Drecov. By following these four steps—installing the software, scanning the USB, browsing files by type, and safely recovering selected data—you can restore important documents, photos, videos, and presentations quickly.
To maximize recovery success:
- Stop using the USB immediately after data loss.
- Avoid formatting the drive before scanning.
- Always recover files to a different storage location.
With the right approach and professional recovery software, most USB file loss situations can be resolved effectively and securely.


